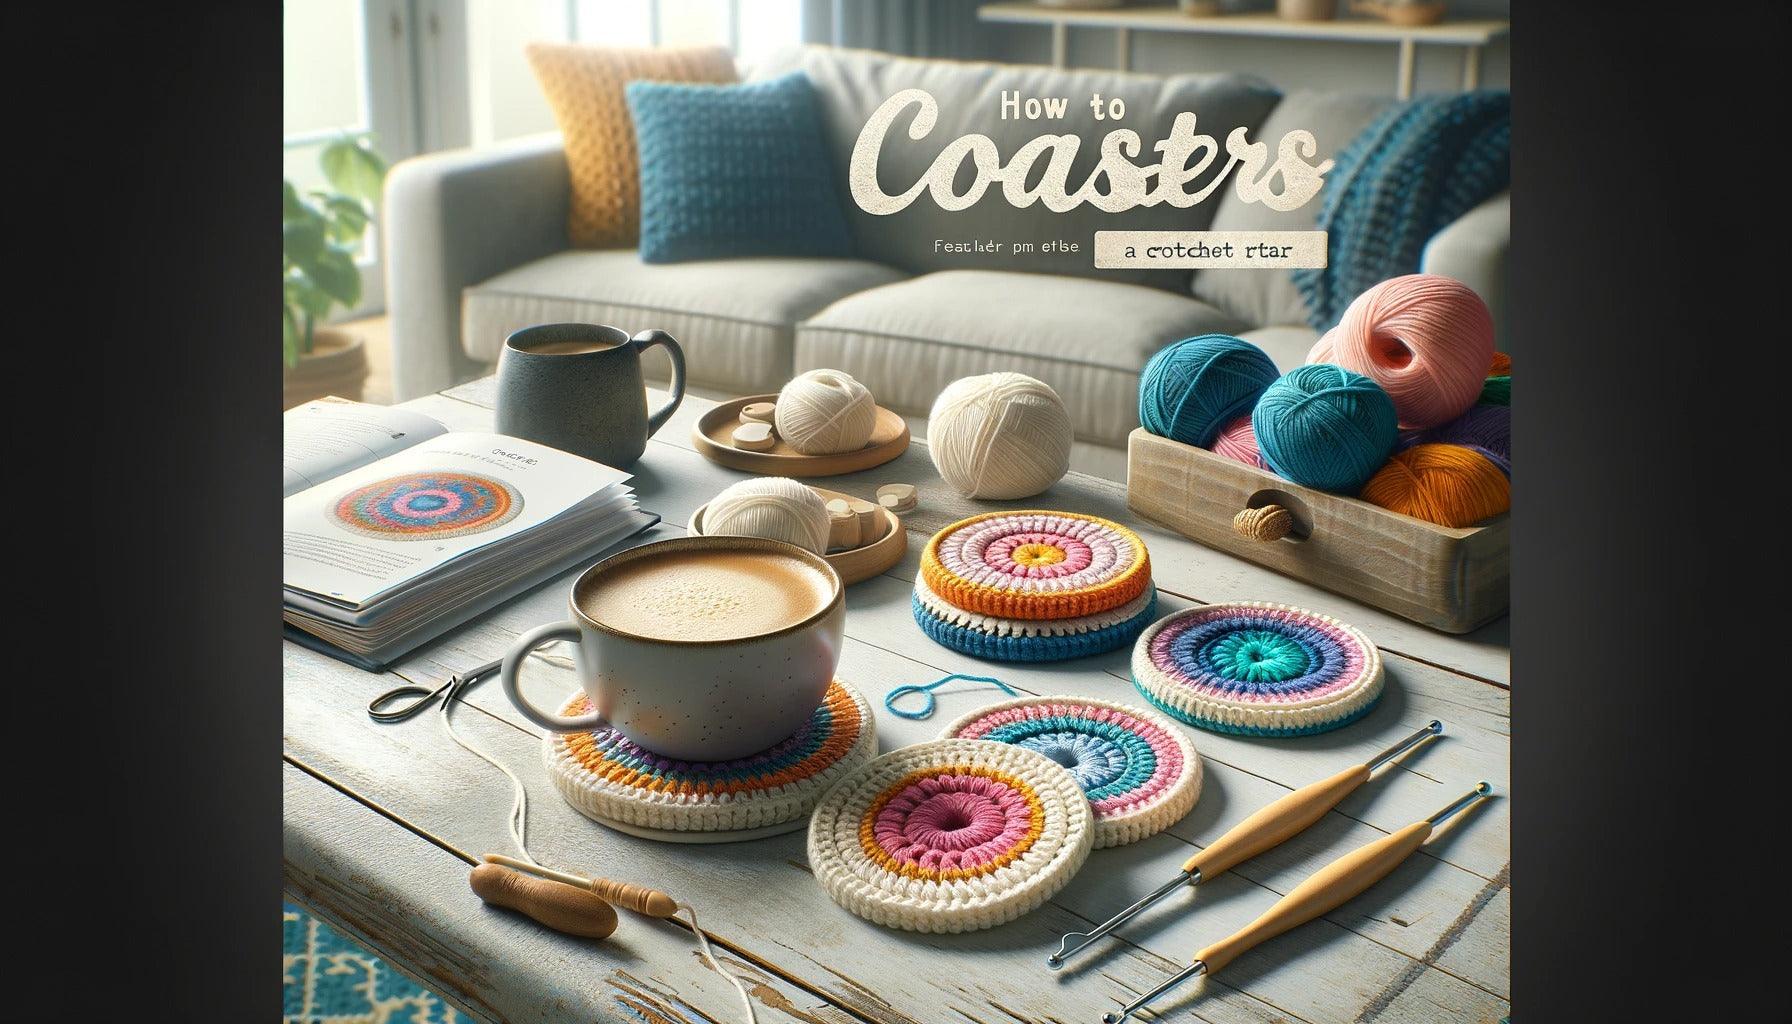
Introduction to Crocheting Coasters
Crocheting coasters is a delightful activity that combines creativity, functionality, and the satisfaction of creating something with your own hands. Whether you are a beginner or have been crocheting for years, learning how to crochet coasters can add to your repertoire of skills and give you a fun project to work on.
Understanding the Basics of Crocheting
Crocheting is a craft that involves using a crochet hook to interlock loops of yarn, thread, or other materials. It is similar to knitting, but instead of using two needles, crochet requires only one hook. The process of crocheting involves creating a series of loops or stitches that form a pattern. For beginners, understanding the basic stitches and techniques is the first step towards mastering the art of crocheting. You can learn more about the basics of crocheting in our article on how to crochet.
When crocheting coasters, you will need to know how to make a slip knot, chain stitch, and single crochet stitch. These are some of the most basic stitches in crocheting and will be used frequently in your coaster projects. For a more detailed guide on these stitches, check out our how to crochet stitches article.
Why Crochet Coasters: Benefits and Uses
Crocheting coasters is not just a fun hobby but also has several benefits and uses. Firstly, handmade coasters can add a personal touch to your home decor. They are a cost-effective way to bring color and texture to your dining or coffee table. Moreover, they make for thoughtful gifts for friends and family.
In terms of practical use, coasters protect your furniture from hot or cold beverages. They absorb the condensation from the drinks and prevent stains and marks on your table surface.
Crocheting coasters is also an excellent way for beginners to practice basic stitches and techniques. They require a small amount of yarn and can be completed in a relatively short time, giving you a sense of accomplishment and boosting your confidence.
As you advance your skills, you can experiment with different patterns, colors, and stitches to create unique and custom coasters. For inspiration and guidance on other crochet projects, check out our articles on how to crochet patterns for blankets and how to crochet patterns for scarves.
Remember, the joy of crocheting lies in the process as much as in the finished product. So relax, take your time, and enjoy the journey of learning how to crochet coasters. Happy crafting!
Materials Needed for Crocheting Coasters
Before you embark on your journey to learn how to crochet coasters, gathering the necessary materials and tools is the first step. The primary materials you need are yarn and crochet tools.
Choosing the Right Yarn
Choosing the right yarn is one of the most critical decisions to make when crocheting coasters. Because coasters often come into contact with hot and cold beverages, it's recommended to use a durable, absorbent, and heat-resistant material. Cotton yarn is a popular choice due to its durability, absorbency, and ease of care.
While color choice is primarily a matter of personal preference, keep in mind that darker colors may be more practical as they are less likely to show stains. If you're looking to experiment and expand your skills, consider using variegated yarn or multiple colors to create patterns and designs.
Remember, the thickness of your yarn will impact the size of your finished coaster and the crochet hook size you'll need to use. So, choose a yarn weight appropriate for the project. For more information on yarn weights and their corresponding crochet hook sizes, check out our article on how to determine crochet hook sizes.
Necessary Crochet Tools
The basic crochet tools needed for crocheting coasters include:
- Crochet Hook: The size of the hook will depend on the weight of your yarn. Generally, for coaster projects, hooks within the range of 4mm to 5.5mm are used.
- Scissors: A pair of sharp scissors is essential for cutting the yarn.
- Yarn Needle: This is used for weaving in ends after you finish crocheting the coaster.
| Tool | Description |
|---|---|
| Crochet Hook | Size depends on yarn weight |
| Scissors | Used for cutting yarn |
| Yarn Needle | Used for weaving in ends |
By choosing the right yarn and having the necessary crochet tools at your disposal, you're well on your way to successfully learning how to crochet coasters. As you grow more comfortable with the basics, don't hesitate to experiment with different yarn types, colors, and patterns to create coasters that are uniquely your own.
Basic Techniques Required for Coaster Crocheting
Embarking on your journey to understand how to crochet coasters entails mastering a few fundamental techniques. These methods will not only aid in crocheting coasters but also form the basis for various other crochet projects.
Familiarizing with Crochet Stitches
The first step towards creating a crochet coaster is to understand different crochet stitches. This knowledge is essential as various stitches contribute to the texture and design of the coaster. The basic stitches you need to familiarize yourself with include:
- Chain Stitch (ch): This is the most fundamental stitch and is typically the starting point for most crochet projects.
- Single Crochet (sc): This stitch provides a compact weave, ideal for coasters.
- Double Crochet (dc): This stitch is twice the height of a single crochet and adds a bit of texture to your crochet coaster.
These stitches form the foundation for crocheting coasters, but there are myriad other stitches to explore as you advance your skill set. To delve deeper into crochet stitches and their variations, read our guide on how to crochet stitches.
Learning the Magic Ring Technique
The magic ring, also known as a magic circle or adjustable loop, is a popular technique used when crocheting in the round. It's versatile and ideal for projects like coasters, hats, or amigurumi, where you don't want a visible hole in the center. The technique involves creating a loop of yarn that can be tightened after you've worked your first round of stitches into it.
Mastering the magic ring technique might take a bit of practice, but it will significantly improve the quality of your finished crochet projects. With patience and perseverance, you can learn this valuable crochet skill.
Mastering the Slip Stitch
The slip stitch is another critical technique in crocheting coasters. It's often used to join a chain into a ring or to end a round of stitches. Unlike other stitches that add height or width to your project, the slip stitch is primarily used to move your yarn to a different location without adding extra height.
It's also used to create a seamless join when working in the round, making it an essential technique to master when learning how to crochet coasters.
With these basic techniques under your belt, you're well on your way to creating beautiful, handmade crochet coasters. As you build confidence and expand your skills, you can explore more complex techniques and tackle more ambitious projects. Whether you're interested in how to crochet patterns for blankets or how to crochet bags, mastering these fundamental techniques will pave the way.
Step-by-Step Guide on How to Crochet Coasters
Creating your own crochet coasters can be a fun and rewarding project. In this section, we will guide you through the process, providing clear steps on how to crochet coasters. From starting your coaster to adding rows and finishing your piece, this guide will provide you with the knowledge you need to start crocheting with confidence.
Starting your Crochet Coaster
To start your crochet coaster, you'll first need to make a slipknot on your hook. This will serve as the first stitch of your project. To make a slipknot, make a loop with your yarn, then pull a second loop through the first one. Insert your crochet hook into the second loop and tighten the knot.
Next, you will start your first round by crocheting a chain of six stitches. Then, join the beginning and end of this chain with a slip stitch to form a ring. This ring forms the center of your coaster and is the base from which you will add rows to create your coaster.
Adding Rows to your Coaster
Once your initial ring is formed, it's time to start adding rows to your coaster. Begin the first row by chaining three stitches. This chain will act as your first double crochet stitch.
Now, crochet 11 more double crochet stitches into the center of the ring. Join the last stitch of the row with a slip stitch to the top of the initial chain of three. This completes your first row.
For the second row, chain three stitches again to start. Then, double crochet twice into each stitch from the previous row. Join the last stitch of the row with a slip stitch to the top of the initial chain of three.
Continue adding rows in this manner, increasing the number of stitches in each row to maintain a flat, round shape. For a standard coaster, you will typically need to crochet four or five rows.
Finishing your Coaster
Once you've added enough rows to your coaster, it's time to finish your piece. To do this, cut your yarn, leaving a tail about four inches long. Yarn over and pull through the last stitch completely. This is known as a "fasten off".
Next, use a yarn needle to weave in the tail through the stitches of your coaster. This hides the tail and secures your work. To ensure your coaster lays flat, you may want to block it. This involves wetting the coaster, shaping it to its final form, and allowing it to dry.
And there you have it! You've successfully learned how to crochet coasters. With practice, you can experiment with different colors, yarn types, and patterns to create a variety of beautiful and functional crochet coasters. For more information on how to crochet, be sure to check out our other articles on how to crochet for beginners and how to crochet stitches. Happy crocheting!
Troubleshooting Common Coaster Crocheting Problems
As you journey through learning how to crochet coasters, you may encounter a few common issues. These could include uneven edges, curling, or the presence of loops and gaps. This section aims to provide solutions to these common challenges.
Fixing Uneven Edges
Uneven edges are a common problem when crocheting coasters. This usually happens when the number of stitches in each row varies. To fix this, ensure that you count your stitches carefully in each row. If you find a row with fewer or more stitches than expected, you may have to unravel that row and redo it.
If your edges still look uneven, it could be because you're placing your first and last stitches in the wrong spot. Make sure you're working into the top of the turning chain for a neat edge. For a deeper understanding of crochet stitches, refer to our article on how to crochet stitches.
Resolving Curling Issues
If your crochet coaster starts to curl, it's often a sign of too many stitches in one round. To prevent this, ensure you're not adding extra stitches at the end of each round. Use a stitch marker to keep track of the start and end of each round.
If your coaster is still curling, you may be crocheting too tightly. Try relaxing your grip on the yarn and hook, or consider using a larger hook. Learn more about selecting the right crochet hook in our article on how to determine crochet hook sizes.
Mending Loops and Gaps
Loops and gaps in your crochet coaster can occur if you accidentally miss a stitch or work into the wrong space. To fix this, you'll need to go back to the round where the mistake happened and correct it.
If you're consistently seeing loops and gaps, you may need to adjust your tension or try a different stitch. For more guidance on crochet techniques, check out our article on how to crochet for beginners.
Navigating these common issues will not only help you perfect your crochet coasters, but also enhance your overall crochet skills. Remember, it's okay to make mistakes – they're part of the learning process. With practice and patience, you'll be able to crochet coasters with ease and confidence.
Tips for Crocheting Coasters with Confidence
As you learn how to crochet coasters, there are a few key tips that can help you to improve your skills and create beautiful, functional items. These include the importance of practice, the benefits of experimenting with different materials, and the joy of getting creative with your designs.
Practice Makes Perfect
As with any new skill, practice is vital when it comes to crocheting. The more you crochet, the better you'll become at mastering different techniques and patterns. Start with simple patterns and gradually move to more complex ones as you gain confidence. It's also a good idea to practice the basic stitches regularly to improve your speed and precision. Our guide on how to crochet stitches can be a helpful resource in this regard.
Experiment with Different Yarns and Hooks
There's a wide variety of yarns and crochet hooks available, each with its own unique properties and effects. Don't hesitate to experiment with different types to see what works best for you. For instance, thicker yarns can be easier to work with for beginners, while thinner yarns can provide more detail for intricate patterns. Similarly, the size of the crochet hook can greatly influence the look and feel of your coaster. Check our article on how to determine crochet hook sizes to learn more about choosing the right hook for your project.
Get Creative with Colors and Patterns
One of the joys of crocheting is the ability to customize your creations with a wide range of colors and patterns. Don't be afraid to get creative and try out different color combinations or patterns. You can also create themed coasters for different seasons or occasions. For instance, you could try crocheting festive patterns for holidays or use bright, vibrant colors for summer coasters. Our guides on how to crochet flowers or how to crochet christmas ornaments can provide some inspiration.
In conclusion, learning how to crochet coasters can be a fun and rewarding experience. With patience, practice, and a bit of creativity, you'll soon be able to create gorgeous, practical coasters that reflect your personal style. Happy crocheting!