Introduction to Crocheting Wrist Warmers
Venturing into the realm of crochet allows one to create a variety of useful and beautiful items. One such popular item is the wrist warmer. In this guide, we will help you understand what wrist warmers are and why you should consider crocheting your own.
What are Wrist Warmers?
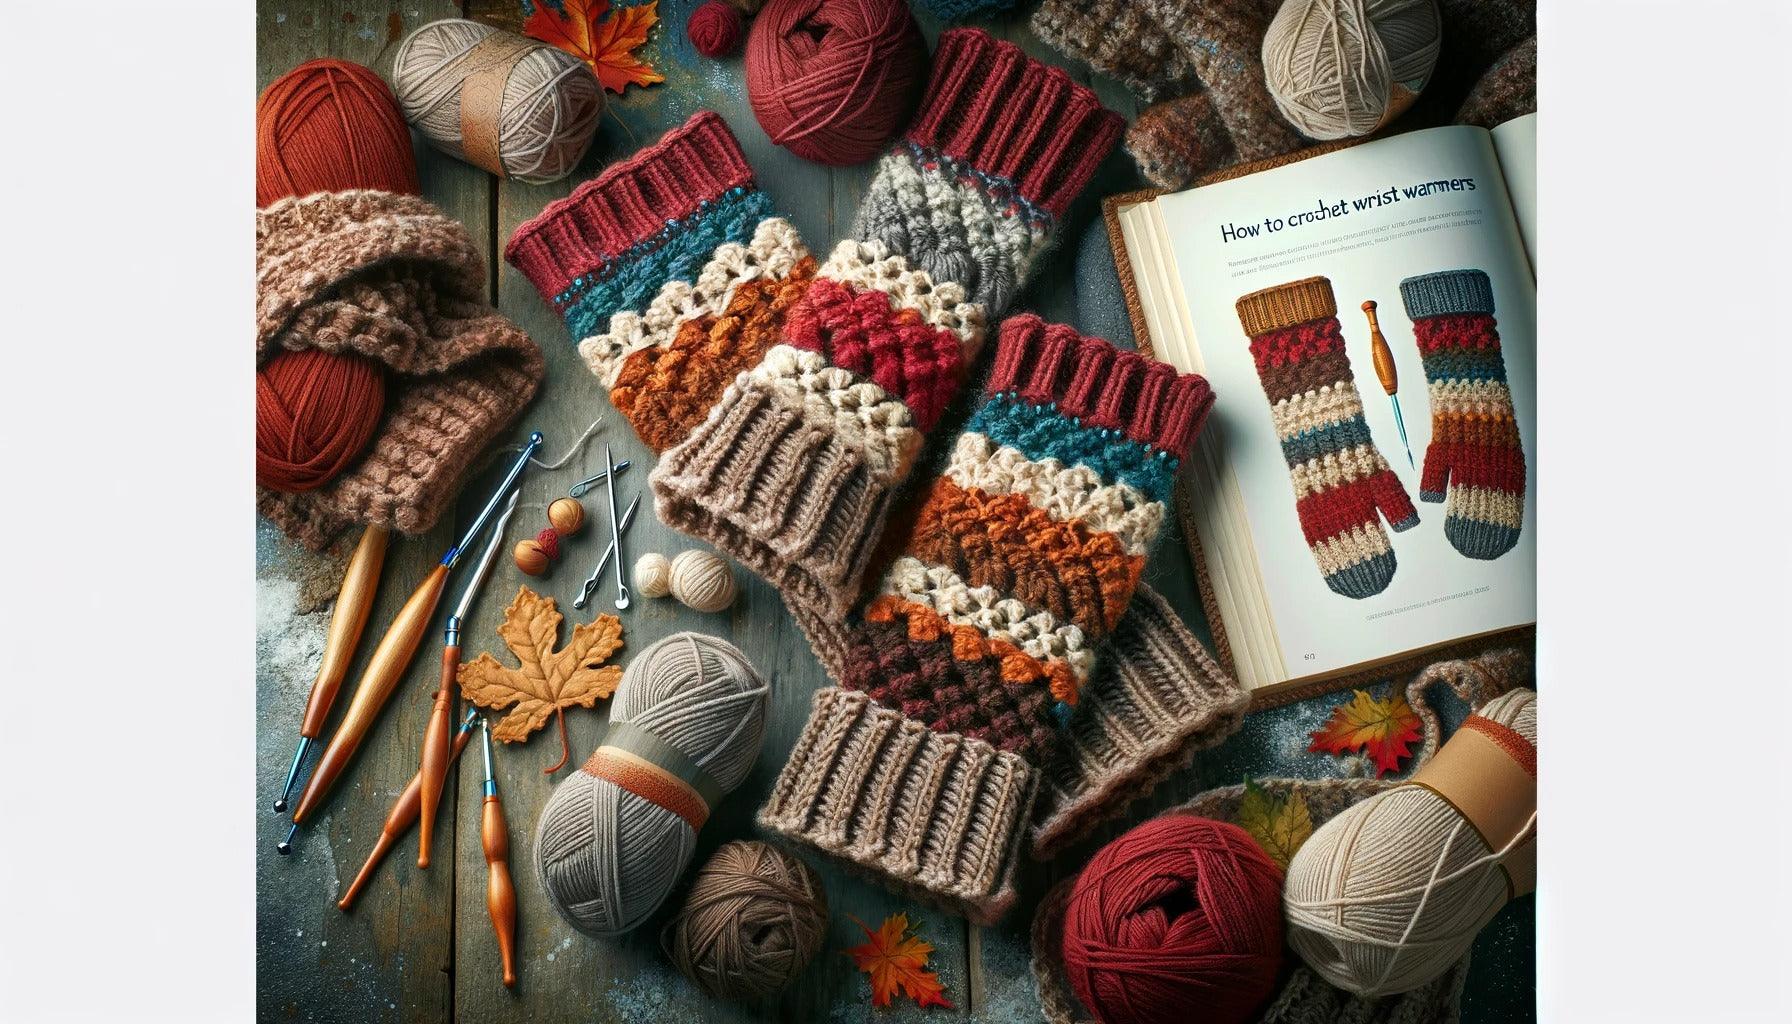
Wrist warmers, also known as arm warmers or fingerless gloves, are knitted or crocheted garments that cover the wrist and often extend to the lower part of the arm. They provide warmth while still allowing full mobility of the fingers, making them perfect for tasks that require dexterity, such as typing or crafting.
These versatile accessories can be made in a variety of styles, colors, and patterns, allowing for personalization and creativity. Whether you prefer a simple design or one with intricate patterns and embellishments, crocheting wrist warmers offers a multitude of options.
Why Crochet Your Own Wrist Warmers?
One might wonder, why take the time to learn how to crochet wrist warmers when they can easily be bought? There are several reasons why crafting your own wrist warmers is a worthwhile endeavor.
Firstly, crocheting your own wrist warmers allows for a level of customization that can't be achieved with store-bought items. From selecting the perfect yarn color and texture to creating a pattern that suits your style, the possibilities are endless.
Secondly, crocheting wrist warmers can be a relaxing and rewarding hobby. Not only does it provide a creative outlet, but it also results in a functional item that you can use yourself or give as a thoughtful, handmade gift.
Lastly, crocheting wrist warmers is an excellent project for beginner to intermediate crocheters. It provides an opportunity to practice and master various crochet techniques, such as creating a foundation chain, working in the round, and handling different stitches. If you're new to crochet or looking to expand your skills, check out our guides on how to crochet and how to crochet stitches for more information.
In summary, learning how to crochet wrist warmers is a fun, creative, and practical endeavor that offers numerous benefits. Whether you're a crochet novice or a seasoned pro looking for a new project, this guide will provide you with the skills and knowledge needed to create your own unique wrist warmers.
Preparations before Crocheting
Before diving into how to crochet wrist warmers, it's necessary to prepare adequately. This involves choosing the right yarn, understanding crochet hook sizes, and determining the right fit for your wrist warmers.
Choosing the Right Yarn
The type of yarn you choose can significantly influence the outcome of your wrist warmers. Different yarns have varying textures, thicknesses, and warmth levels. For wrist warmers, a medium-weight yarn (also known as worsted weight yarn) is often recommended due to its balance between warmth and dexterity.
When selecting a yarn, consider its composition. Natural fibers like wool and cotton are breathable and warm, but they may require special care when washing. Synthetic fibers like acrylic are durable, easy to care for, and often more affordable. A blend of natural and synthetic fibers can offer the best of both worlds.
Understanding Crochet Hook Sizes
The size of the crochet hook you choose will affect the tightness or looseness of your stitches, and ultimately, the size and fit of your wrist warmers. Smaller hooks result in tighter stitches, making the fabric denser and less stretchy. Larger hooks create looser stitches, resulting in a more flexible, stretchy fabric.
As a general guide for wrist warmers, a hook size of 4.5mm to 5.5mm is usually suitable for worsted weight yarn. However, you should always perform a gauge check before starting your project to ensure you have the correct hook size. For more information on this topic, see our article on how to determine crochet hook sizes.
| Yarn Weight | Recommended Hook Size |
|---|---|
| Light Weight | 3.5 - 4.5mm |
| Medium Weight | 4.5 - 5.5mm |
| Heavy Weight | 5.5 - 6.5mm |
Determining the Right Fit
The fit of your wrist warmers is crucial for comfort and functionality. Before you start crocheting, measure the circumference of your wrist and the widest part of your hand. This will help you determine how many stitches to make in your foundation chain.
Let's say the circumference of your wrist is 7 inches, and your hand is 8 inches at its widest part. If your gauge check shows that each stitch is approximately 0.5 inches wide, you'll need to start with a foundation chain of 14 stitches for the wrist and increase to 16 stitches for the hand.
Remember, crochet fabric has some stretch to it, so it's better to err on the side of a snugger fit. The wrist warmers will naturally stretch out a bit with wear.
With the right yarn, the correct hook size, and a clear understanding of the fit, you are now ready to begin learning how to crochet wrist warmers. The next sections will guide you through each step of the process, ensuring you can produce a well-crafted, comfortable, and warm pair of wrist warmers.
Step-by-Step Guide on How to Crochet Wrist Warmers
Crafting your own wrist warmers is a rewarding and practical project. Here, we'll discuss the process of how to crochet wrist warmers from start to finish.
Starting with a Foundation Chain
The first step in crocheting wrist warmers is creating the foundation chain. This serves as the base on which the rest of the wrist warmer will be built.
- Begin by making a slipknot on your crochet hook.
- Next, create a series of chain stitches until you reach the desired length. This length should be equal to the circumference of your wrist or a bit larger for a looser fit.
Creating the Cuff
After the foundation chain, the next phase is to crochet the cuff of the wrist warmer.
- Start by making a single crochet (sc) stitch in the second chain from the hook.
- Continue making sc stitches in each chain until you reach the end of the row.
- For the next row, turn your work and make sc stitches in the back loops only. This will create a ribbed effect that's characteristic of wrist warmer cuffs.
Working on the Main Part of the Wrist Warmer
Once the cuff is complete, you can start working on the main part of the wrist warmer.
- For the main part, you can use any stitch pattern you like. The double crochet stitch or half double crochet stitch are popular choices.
- Continue crocheting rows until you reach the desired length of your wrist warmer. This should be from your wrist to just below your thumb joint.
Adding the Thumb Hole
The next step is to add a thumb hole to your wrist warmer.
- Once you've reached the desired length, do not turn your work at the end of the row.
- Instead, make a series of chain stitches. This should be large enough to fit around your thumb comfortably but not so large that it's loose.
- Skip the same number of stitches on your wrist warmer, then continue your stitch pattern as before. This creates a hole for your thumb.
Finishing Off the Wrist Warmer
The final step is to finish off your wrist warmer.
- Once you've completed all rows and your wrist warmer is the desired size, cut your yarn, leaving a long tail.
- Pull the tail through the loop on your crochet hook to secure it.
- Use a yarn needle to weave in any loose ends.
These steps provide a basic guide on how to crochet wrist warmers. Remember that the process can be tailored to fit your specific needs and style. For more detailed instructions on different crochet stitches and techniques, you can refer to our articles on how to crochet and how to crochet stitches. Happy crocheting!
Common Challenges and Solutions
As with any craft, mastering how to crochet wrist warmers can come with its own set of challenges. However, these obstacles are part of the learning process, and overcoming them will only make you a stronger crochet artist. Here, we'll cover some of the common issues you might encounter, and provide solutions to help you navigate them.
Adjusting the Size
When it comes to crocheting wrist warmers, one of the most common challenges is getting the size right. If the wrist warmer is too tight, it can be uncomfortable and restrictive. On the other hand, if it's too loose, it won't stay in place and won't provide the warmth you want.
To address this, make sure to measure the circumference of your wrist before you begin. If you're following a pattern, compare your measurements to the sizes provided in the pattern and adjust your stitches accordingly. If you're creating your own pattern, consider making a gauge swatch first, this can help you determine how many stitches and rows you'll need for your wrist warmer to be the right size.
It's also important to remember that different yarns and hooks can affect the size of your wrist warmer. Therefore, always check your gauge when you switch to a different type of yarn or a different hook size.
Handling Difficult Stitches
For beginners, certain crochet stitches can seem complicated and intimidating. However, with practice and patience, you can master these stitches and incorporate them into your wrist warmers for more intricate and detailed designs.
If you're struggling with a particular stitch, don't hesitate to seek help. There are numerous resources online, including video tutorials and step-by-step guides that can provide clear and detailed instructions. Our article on how to crochet stitches can be a great starting point.
Remember, it's perfectly okay to start with simpler stitches and patterns. As your skills improve, you can gradually move on to more complex designs.
Managing Loose Ends
Another common challenge when crocheting wrist warmers is dealing with loose ends. These can occur when you change colors or start a new skein of yarn.
To manage loose ends, you can weave them in as you go. This involves using a yarn needle to thread the loose end through the stitches you've already made. This can secure the loose end and make your wrist warmer look neat and professional.
If you have a large number of loose ends, you might want to consider using a technique called "crocheting over the ends". This involves holding the loose end of the yarn along the top of the row you're working on, and crocheting over it. This can secure the loose end while also saving you the time and effort of weaving in ends later.
Remember, mastering how to crochet wrist warmers is a journey. It's okay to stumble and make mistakes along the way. The important thing is to keep learning, keep practicing, and most importantly, keep enjoying the process.
Tips to Master the Art of Crocheting Wrist Warmers
Once you've learned the basics of how to crochet wrist warmers, there are several strategies that can help you enhance your skills and create a more refined product. By experimenting with different yarns, trying out various patterns, and practicing regularly, you can take your crocheting skills to new heights.
Experimenting with Different Yarns
The type of yarn used can significantly impact the texture and appearance of your wrist warmers. Therefore, don't hesitate to experiment with various yarns. For instance, using a smooth, worsted weight yarn can result in a sturdy and comfortable wrist warmer. On the other hand, a yarn with an interesting texture or color variation can add a unique touch to your work.
When choosing a yarn, consider factors such as the weight, fiber content, and color. Each of these aspects can influence the final look and feel of your wrist warmers. Always remember to consider the wearer's preferences and comfort when selecting your yarn.
Trying Out Various Patterns
Another way to diversify your crochet projects and enhance your skills is by experimenting with different patterns. There are numerous crochet patterns available online for wrist warmers, ranging from simple to intricate designs.
You can start with basic patterns and gradually move on to more complex ones as your confidence increases. Trying out different patterns not only adds variety to your projects but also helps you learn new stitches and techniques. Be sure to visit our comprehensive guides on how to crochet stitches and how to crochet for beginners for additional assistance.
Practicing Regularly
As with any skill, regular practice is key when it comes to mastering how to crochet wrist warmers. The more you crochet, the more comfortable you'll become with the process. Over time, you'll find that your stitches become more consistent and your speed increases.
To make practicing more fun, consider crocheting wrist warmers in a variety of colors and styles. You can also crochet wrist warmers as gifts for friends and family. Not only will this give you more opportunities to practice, but it's also a great way to show off your newly acquired skills!
Remember, the journey of learning how to crochet should be enjoyable. So don't rush the process. Take your time to enjoy each stitch, learn from your mistakes, and celebrate your progress. With patience and persistence, you'll soon be able to crochet beautiful wrist warmers with ease.

