Introduction to Crochet Gloves
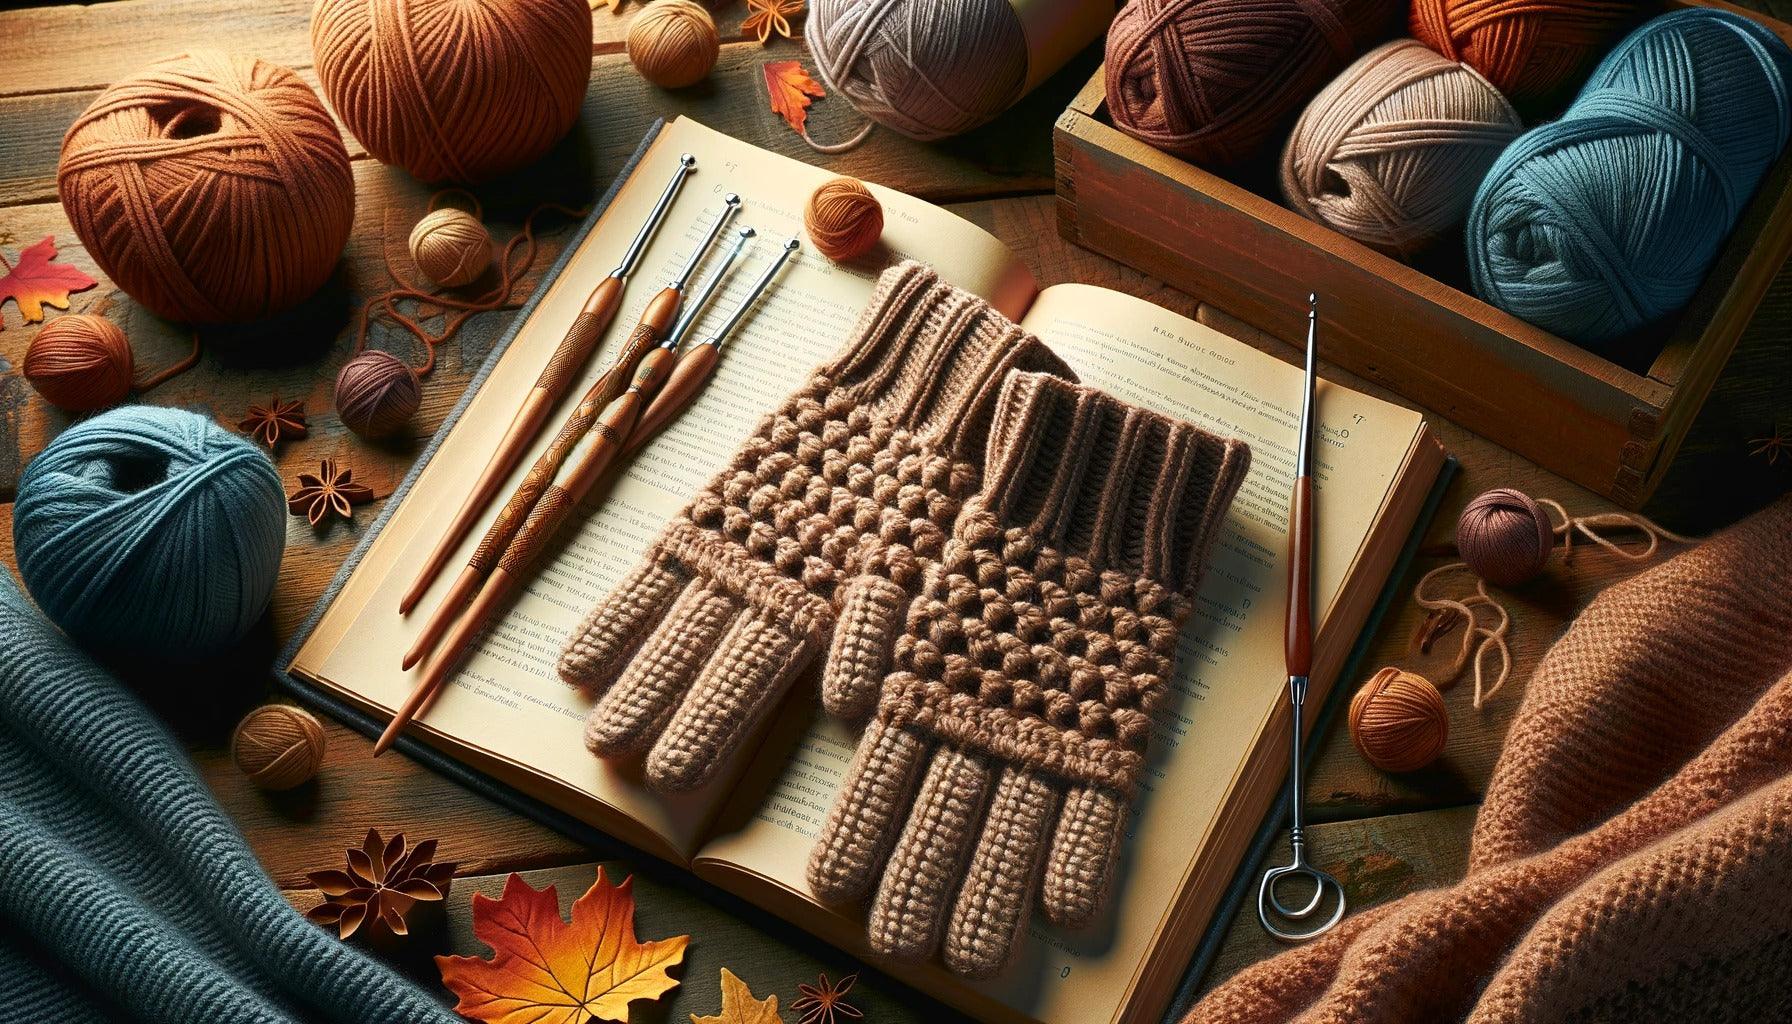
Crafting your own clothing and accessories can be a rewarding experience, especially when you create something as practical and stylish as fingerless gloves. Crocheting your own gloves allows you to create a perfect fit and design something uniquely yours.
The Versatility of Fingerless Gloves
Fingerless gloves are a versatile accessory, providing warmth while still allowing the dexterity needed for tasks that require fine motor skills. They're excellent for transitional seasons, when it's too cold to go without gloves but too warm for full coverage.
Fingerless gloves are also a fantastic way to express your personal style. From the choice of yarn color and texture to the stitch patterns used, these gloves can be a fashionable statement that showcases your crochet skills. Learning how to crochet fingerless gloves can open up a world of creativity and practicality.
Why Choose Crochet for Your Gloves?
Crochet offers a unique texture and flexibility that other methods of construction can't match. Unlike knitting, which uses several active stitches at a time, crochet only uses one active stitch, making it easier to correct mistakes and achieve a consistent pattern. Also, crochet works up quickly, making it ideal for projects like gloves.
Crochet also offers a wide range of stitch varieties, allowing for more complex and interesting designs. Whether you prefer a simple, understated look or a more intricate pattern, crochet has you covered. If you're new to crochet, check out our guide on how to crochet and how to crochet for beginners to get started.
Furthermore, crocheting your own gloves lets you customize every aspect of the design. From the length of the glove to the tightness of the fit, when you're the one doing the crafting, every detail is up to you.
In this article, we'll guide you through the process of crocheting fingerless gloves, from understanding basic techniques to finishing off your gloves for a professional look. Whether you're a beginner or have been crocheting for years, this guide will help you add a new project to your repertoire and hone your crochet skills.
Basic Crochet Techniques for Gloves
Before starting the journey of how to crochet fingerless gloves, it's essential to understand the basic stitches and patterns, as well as the techniques specific to glove making.
Understanding Crochet Stitches and Patterns
Every crochet project, including fingerless gloves, begins with understanding the basic stitches. The most common crochet stitches used in fingerless gloves are the chain stitch (ch), single crochet (sc), and the double crochet (dc).
The chain stitch forms the foundation of your work, the single crochet creates a dense and sturdy fabric, while the double crochet allows for a looser, more flexible fabric. Mastery of these stitches is crucial to the pattern of your gloves. For a more detailed explanation and tutorials on these stitches, refer to our guide on how to crochet stitches.
The pattern is the repeat of a set of stitches that creates the texture and design of your gloves. Patterns can be simple, using only one type of stitch, or complex, combining several types of stitches. Understanding how to read and follow a crochet pattern can be challenging for beginners, so it's recommended to start with a simple pattern before moving on to more complex designs.
Essential Techniques for Glove Making
When it comes to crocheting gloves, there are a few unique techniques to be aware of:
Increasing: This technique is used to expand the width of your gloves, usually to accommodate the widening of the hand above the wrist. This is typically done by crocheting two stitches into one stitch from the previous row.
Decreasing: This technique is used to narrow the width of your gloves, often to taper the glove towards the fingers. This is typically done by crocheting two stitches from the previous row together into one stitch.
Working in the round: Unlike flat crochet projects like blankets or scarves, gloves are usually crocheted in the round, meaning you'll join the end of each row to the beginning with a slip stitch and continue to crochet in a spiral or circular pattern.
Creating a thumb opening: This involves leaving a space in your stitches for the thumb and continuing to crochet around this space.
Remember, practice makes perfect. Don't worry if your first pair of gloves doesn't turn out exactly as you envisioned. With each pair you make, your skills will improve. For more crochet tutorials, visit our guide on how to crochet for beginners.
Fingerless Glove Pattern Overview
Before you start crocheting your fingerless gloves, it's important to understand their basic structure and how to make necessary measurements. This will ensure a comfortable fit and a finished product that meets your expectations.
Basic Structure of a Fingerless Glove
The typical structure of a fingerless glove includes two main parts: the cuff and the hand section. The cuff is usually worked in rows and fits around the wrist, while the hand section is typically worked in rounds and covers the palm and fingers, leaving the fingertips exposed.
Separating these two sections is an opening for the thumb. This is achieved by skipping a number of stitches during the crochet process, which creates a hole for the thumb. The exact number of stitches to skip will depend on your thumb size and the stretchiness of your yarn.
Understanding this basic structure will help guide you through the pattern and better visualize the process of how to crochet fingerless gloves.
Important Measurements and Calculations
Before starting your project, take the time to make a few key measurements. Measure your wrist circumference for the cuff size, and your hand circumference (excluding the thumb) for the hand section size. Remember to measure the length of your hand from the wrist to the spot where you want the glove to end.
These measurements will help you determine the number of stitches and rows needed for your gloves. The number of stitches per inch (or your gauge) will depend on the yarn and crochet hook you are using. To find your gauge, create a small swatch with the same materials and count how many stitches and rows fit into an inch.
| Measurement | How to Measure |
|---|---|
| Wrist Circumference | Measure around your wrist |
| Hand Circumference | Measure around your hand (excluding the thumb) |
| Glove Length | Measure from your wrist to where you want the glove to end |
Refer to our article on how to determine crochet hook sizes for more information.
Calculating the number of stitches and rows needed for your gloves may seem daunting at first, but remember, practice makes perfect. The more you crochet and familiarize yourself with different patterns and techniques, the easier these calculations will become. Check out our other crochet tutorials for more guidance and inspiration, such as how to crochet wrist warmers and how to crochet headbands.
Understanding the structure of fingerless gloves and how to make accurate measurements and calculations are crucial steps in your journey to becoming a crochet pro. With these skills in hand, you'll be well-prepared to tackle the challenge of crocheting your own fingerless gloves. Happy crocheting!
Crocheting Your Fingerless Gloves
As you delve into the process of how to crochet fingerless gloves, the procedure begins with the cuff, followed by the hand section, and ends with the creation of the thumb opening.
Starting with the Cuff
The cuff forms the base of your fingerless gloves. It's typically worked in rows to achieve a ribbed effect, which adds elasticity to the cuff. A common stitch used for the cuff is the back loop only (BLO) single crochet (sc). This stitch creates a fabric that's stretchy and comfortable to wear.
Here's a basic step-by-step guide on how to create the cuff:
- Create a slipknot and chain the number of stitches that correspond to the desired width of your cuff.
- Starting from the second chain from the hook, work a single crochet (sc) stitch in the back loop only (BLO) across the row.
- At the end of the row, chain one (ch 1), then turn your work.
- Repeat the BLO sc across the row, ch 1, then turn your work.
- Continue in this manner until the cuff wraps snugly around your wrist.
Working on the Hand Section
Once the cuff is complete, the next stage involves working on the hand section. This part of the glove is typically worked in rounds to create a seamless finish. The stitches used for the hand section can vary depending on the pattern, but a common choice is the half double crochet stitch (hdc) as it creates a dense yet flexible fabric.
Here's a basic guide on how to create the hand section:
- Rotate your cuff to work along the long edge.
- Create a foundation row of single crochet stitches around the cuff. The number of stitches should be evenly divisible by 2.
- Join the round with a slip stitch (sl st) into the first sc stitch.
- Chain two (ch 2), then work a half double crochet (hdc) stitch in each sc stitch around.
- Join the round with a sl st into the first hdc stitch.
- Repeat the previous two steps until the glove reaches your desired length, stopping just before the thumb joint.
Creating the Thumb Opening
The final part of crocheting fingerless gloves involves creating the thumb opening. This is usually done by skipping a certain number of stitches on one round to create a gap for the thumb.
Here's a basic guide on how to create the thumb opening:
- Chain two (ch 2), then work a hdc stitch in each stitch until you reach the place where you want the thumb opening to be.
- Chain a number of stitches that correspond to the desired width of your thumb opening.
- Skip the same number of stitches, then continue working a hdc stitch in each stitch around.
- Join the round with a sl st into the first hdc stitch.
- Continue working in rounds as before, treating the chain stitches as regular stitches.
Once the thumb opening is created, you can continue to crochet a few more rounds to add length to the glove. Remember to try on your glove as you work to ensure a proper fit. Adjust your stitch count or switch to a different crochet hook if necessary. Our guide on how to determine crochet hook sizes can be a helpful resource for this.
With these instructions, you're well on your way to mastering the art of crocheting fingerless gloves. Happy crocheting!
Tips for a Professional Finish
After mastering how to crochet fingerless gloves, the key to taking your craft to the next level lies in the details. A professional finish can elevate the look and feel of your gloves, making them stand out in terms of quality and attention to detail.
Ensuring Even Stitches
Perfecting the uniformity of your stitches is a fundamental aspect of creating a professional finish. Uneven stitches can result in a less polished look and can also affect the fit and comfort of your gloves. To achieve even stitches, maintain consistent tension throughout your work. Avoid pulling the yarn too tight or letting it hang too loose. Always remember that practice makes perfect. The more you crochet, the better you will become at controlling your tension. For more tips on stitch evenness, refer to our guide on how to crochet stitches.
Making Adjustments for a Perfect Fit
One of the beauties of crocheting your own gloves is that you can tailor them to fit perfectly. If you notice that your gloves are too tight or too loose, don't hesitate to make adjustments. Adding or removing a few stitches in the right places can make a significant difference in the fit. Remember to measure your hand and fingers before you start and consider these measurements when following the pattern. For a refresher on how to make these calculations, revisit our section on 'Important Measurements and Calculations'.
Adding Personal Touches to Your Gloves
Adding personal touches to your gloves can bring a unique charm and character to your work. You could incorporate different colors, add decorative stitches, or even attach small charms or buttons. These personal touches can transform your gloves into a one-of-a-kind piece that reflects your personality and style. For inspiration on adding personal touches to your crochet work, check out our articles on how to crochet flowers and how to crochet lace shawls.
Crocheting fingerless gloves is a rewarding and versatile project. By focusing on even stitches, a perfect fit, and adding personal touches, you can create beautiful gloves that are both functional and fashionable. Keep practicing, keep experimenting, and you'll be a crochet pro in no time.

