Introduction to Crocheting Headbands
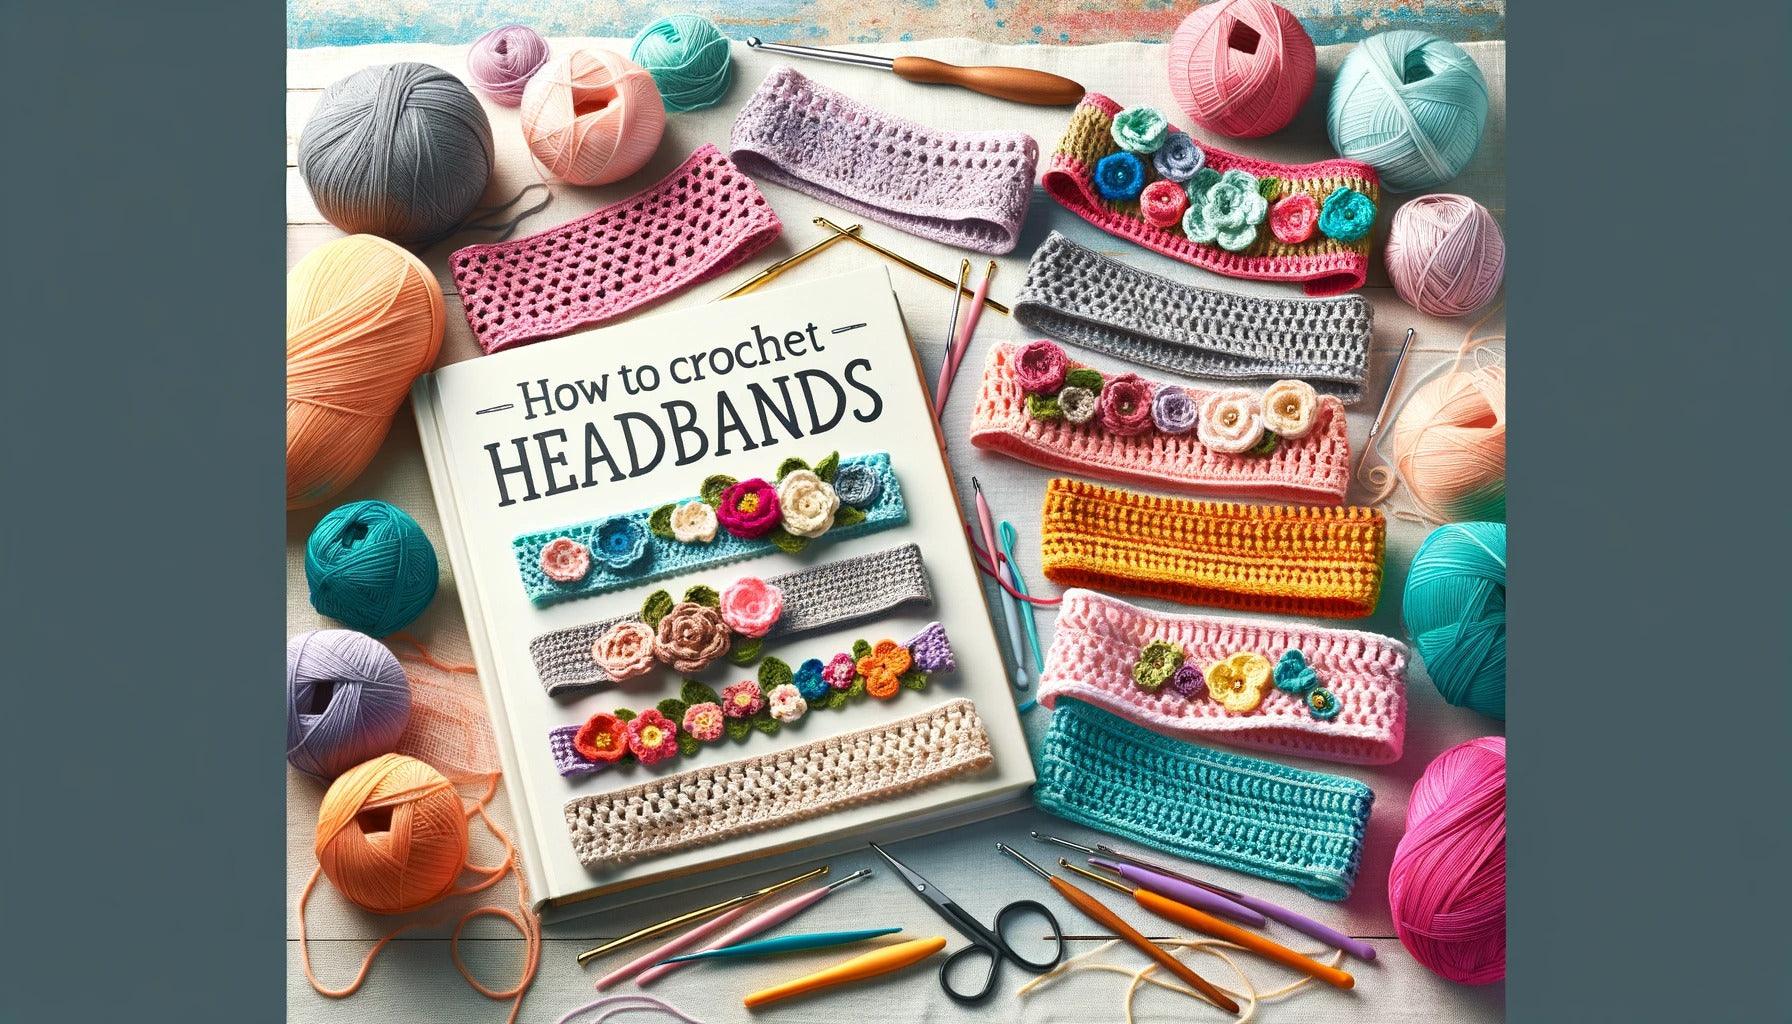
If you're looking to expand your crochet skills, learning how to crochet headbands can be a rewarding and enjoyable project. This endeavor is not only practical but also allows for a great deal of creativity and personalization.
What Makes Crocheting Headbands a Great Project
Crocheting headbands is an ideal project for a number of reasons. Firstly, it's a relatively quick and easy task, making it a perfect choice for those looking to create something beautiful in a short amount of time. Whether you're a seasoned crocheter or just starting out, these headbands can be a fun way to practice and enhance your skills.
Secondly, headbands are versatile accessories that can be customized to any style or preference. You can experiment with different patterns, stitches, and colors to create a unique piece that reflects your personal style. Plus, they make great gifts and can be tailored to fit anyone, from babies to adults.
Lastly, crocheting headbands is a cost-effective project. It requires minimal materials and tools, and you can often make several headbands from a single skein of yarn. This makes it a great option for those looking to create on a budget.
Understanding Basic Crochet Techniques Needed
Before diving into crocheting headbands, it's crucial to have a grasp of some basic crochet techniques. If you're a beginner, you might want to start by mastering the chain stitch, which forms the foundation of most crochet projects. Other essential stitches include the single crochet stitch, double crochet stitch, and half-double crochet stitch. These stitches form the basis of many patterns and are commonly used in crocheting headbands.
In addition to these basic stitches, you might also want to familiarize yourself with techniques for increasing and decreasing stitches, as these can help you adjust the size and shape of your headband. Furthermore, learning how to join rounds and how to fasten off your work will also be useful.
If you're new to crocheting, our articles on how to crochet for beginners and how to crochet stitches provide comprehensive guides to help you get started.
In the next sections, we'll dive into the specific materials and tools required for crocheting headbands, as well as simple and advanced crochet headband patterns. Whether you're a seasoned crocheter or just starting out, we're confident that this guide will help you master the art of crocheting headbands.
Materials and Tools Required
To learn how to crochet headbands, it's crucial to understand the necessary materials and tools. The right selection of yarn, crochet hook, and other essentials can make the process smoother and more enjoyable.
Choosing the Right Yarn
Selecting the appropriate yarn is essential in creating a well-crafted crochet headband. The yarn's weight and texture play a significant role in the final appearance and feel of your headband. For beginners, a medium-weight yarn (also known as worsted weight yarn) is often recommended. This type of yarn is easy to work with and is available in a wide variety of colors.
When considering the texture, choose a soft, comfortable yarn as the headband will be in direct contact with the skin. Avoid scratchy or itchy yarns that can cause discomfort. The yarn's durability is also important, as headbands are often subjected to frequent wear and washing.
Selecting the Right Crochet Hook
The crochet hook's size should correspond to the selected yarn's weight. A medium-weight yarn typically works best with a 5.5 mm (I-9) to 6.5 mm (K-10.5) crochet hook. However, it's always best to refer to the yarn label for recommended hook sizes or check out our article on how to determine crochet hook sizes.
The crochet hook's material can influence the ease of crocheting. Aluminum and plastic hooks are light and smooth, making them suitable for beginners. Wooden hooks, though slightly more expensive, provide a warm feel and good grip, ideal for those with more experience.
Other Essential Tools
In addition to yarn and a crochet hook, several other tools can assist in your headband project. A pair of sharp scissors is necessary for cutting yarn cleanly. A tapestry needle is useful for weaving in loose ends securely. Stitch markers can help keep track of your progress, especially when working on more complex patterns. A flexible tape measure is also important to ensure the correct sizing of the headband.
By gathering the right materials and tools, you're setting the stage for a successful project. With a bit of patience and practice, you'll be on your way to creating beautiful crochet headbands in no time. For more information on crocheting techniques and patterns, check out our articles on how to crochet and how to crochet stitches.
Simple Crochet Headband Pattern
One of the best ways to get started with crocheting headbands is by following a simple pattern. This section will guide you through the steps to create a basic crochet headband, offering a great starting point for beginners looking to learn how to crochet headbands.
Step-by-Step Guide to Crochet a Basic Headband
Chain Stitch: Start by making a slipknot on your crochet hook. Then, make a chain of 60 stitches. If you need a refresher on how to create a chain stitch, you can refer to our detailed guide on how to crochet.
Single Crochet Stitch: For the first row, make a single crochet stitch in the second chain from the hook, and in each chain across the row. If you're unfamiliar with the single crochet stitch, our guide on how to crochet stitches provides a handy tutorial.
Repeat: Continue to make rows of single crochet stitches until you have reached your desired width for the headband. For a standard headband, aim for around 4-5 rows.
Join the Ends: Once you have finished your rows, cut your yarn, leaving a long tail. Thread this tail through a yarn needle and sew the two ends of the headband together.
Fasten Off: Secure the yarn and cut off any excess. You now have a simple, stylish crochet headband!
This simple crochet headband pattern is perfect for beginners, but can also be customized by more experienced crocheters. For instance, you could add additional rows, use different stitches, or include colorful stripes to make the headband unique.
Troubleshooting Common Issues
Like any craft, crocheting can come with its share of challenges. Here are a few common issues you might encounter when learning how to crochet headbands, and some solutions to help you overcome them:
Inconsistent Stitches: If your stitches are looking uneven or varying in size, it could be due to inconsistent tension. Practice maintaining a steady tension on your yarn as you crochet. It may take some time to get the hang of it, but with practice, you'll see improvement.
Curled Edges: If your headband is curling at the edges, it might mean your stitches are too tight. Try loosening your tension or using a larger crochet hook.
Headband is Too Tight or Loose: If your headband doesn't fit correctly, you might need to adjust the number of stitches in your starting chain. For a larger headband, add more chains. For a smaller headband, reduce the number of chains.
Crocheting headbands is a fun and rewarding project. By starting with a simple pattern and gradually incorporating more complex techniques, you'll be able to create a variety of stylish and comfortable headbands in no time. For more crochet patterns and tips, check out our how to crochet for beginners guide. Happy crocheting!
Advanced Crochet Headband Patterns
For those who have mastered the basic crochet headband pattern, there are a variety of ways to take this project to the next level. This includes incorporating different stitches and adding embellishments.
Incorporating Different Stitches
Incorporating different stitches into your crochet headband pattern can create a more textured and intricate design. For example, you might choose to use the double crochet stitch for a chunkier look, or the slip stitch for a tighter, more compact design. You can also experiment with more complex stitches, such as the shell stitch or the cluster stitch, to add visual interest to your headband.
Before attempting these advanced stitches, it's important to familiarize yourself with the basic techniques. Our article on how to crochet stitches provides a comprehensive guide to the different types of crochet stitches and how to execute them.
Adding Embellishments
Adding embellishments to your crochet headband can give it a unique and personalized touch. There are many types of embellishments that you can add to your headband, including:
Crocheted flowers: These can be created using a variety of crochet stitches and can be attached to the headband using a yarn and a tapestry needle.
Beads: These can be threaded onto your yarn before you start crocheting, or sewn onto the finished headband.
Buttons: These can be sewn onto the headband and can also serve a practical purpose, such as functioning as a closure for the headband.
Ribbons: These can be woven through the crochet stitches or attached to the ends of the headband as ties.
When adding embellishments, it's important to keep in mind the wearer's comfort. Avoid placing embellishments in areas where they might cause discomfort, such as the inside of the headband or near the ears.
For more ideas on how to customize your crochet projects, check out our article on how to crochet flowers for a step-by-step guide to creating beautiful crocheted flowers.
Incorporating different stitches and adding embellishments are two effective ways to elevate your crochet headbands. As with any crochet project, it's important to practice and experiment with different techniques and designs to develop your skills and creativity. Happy crocheting!
Tips for Crocheting Headbands
For those wondering how to crochet headbands, here are some essential tips to keep in mind. These pointers will help you ensure that your headbands are well-fitted, consistent, durable, and comfortable.
Sizing and Fit
One of the key aspects to consider when crocheting headbands is the size and fit. As headbands need to fit snugly around the head, taking accurate measurements is crucial. Measure the circumference of the head where the headband will sit, and keep these measurements handy as you work on your project. Remember, crochet headbands should fit snugly but not too tightly to avoid discomfort.
Maintaining Consistency in Stitches
Consistency in stitches is key to achieving a professional look in your crochet headbands. Make sure to maintain an even tension throughout your work. This will not only make your stitches uniform, but also ensure that your headband has the same width all around. For tips on how to maintain consistent stitches, you may find our article on how to crochet stitches helpful.
Ensuring Durability and Comfort
When it comes to crocheting headbands, durability and comfort are two important considerations. Choose a yarn that is soft yet sturdy, and avoid yarns that may cause irritation to the skin. Also, remember that the tighter the stitches, the sturdier the headband will be. However, ensure that the headband has enough stretch to comfortably fit around the head.
To ensure durability, consider using a smaller hook size than recommended for your chosen yarn. This will result in tighter stitches that will hold up better over time. However, don't make your stitches too tight, as this could make the headband uncomfortable to wear. It's all about finding the right balance.
These tips should help you crochet headbands that not only look good but also stand the test of time. As you gain more experience and confidence, you can start experimenting with different patterns, stitches, and embellishments to create unique and personalized headbands. For more detailed guides on how to crochet different items, visit our crochet tutorial page. Happy crocheting!

