Introduction to Crochet Doilies
For those interested in exploring the beautiful world of lace-like crochet, creating doilies is an excellent place to start. This article provides an introduction to crochet doilies, delving into what they are and their rich history and cultural significance.
What Are Doilies?
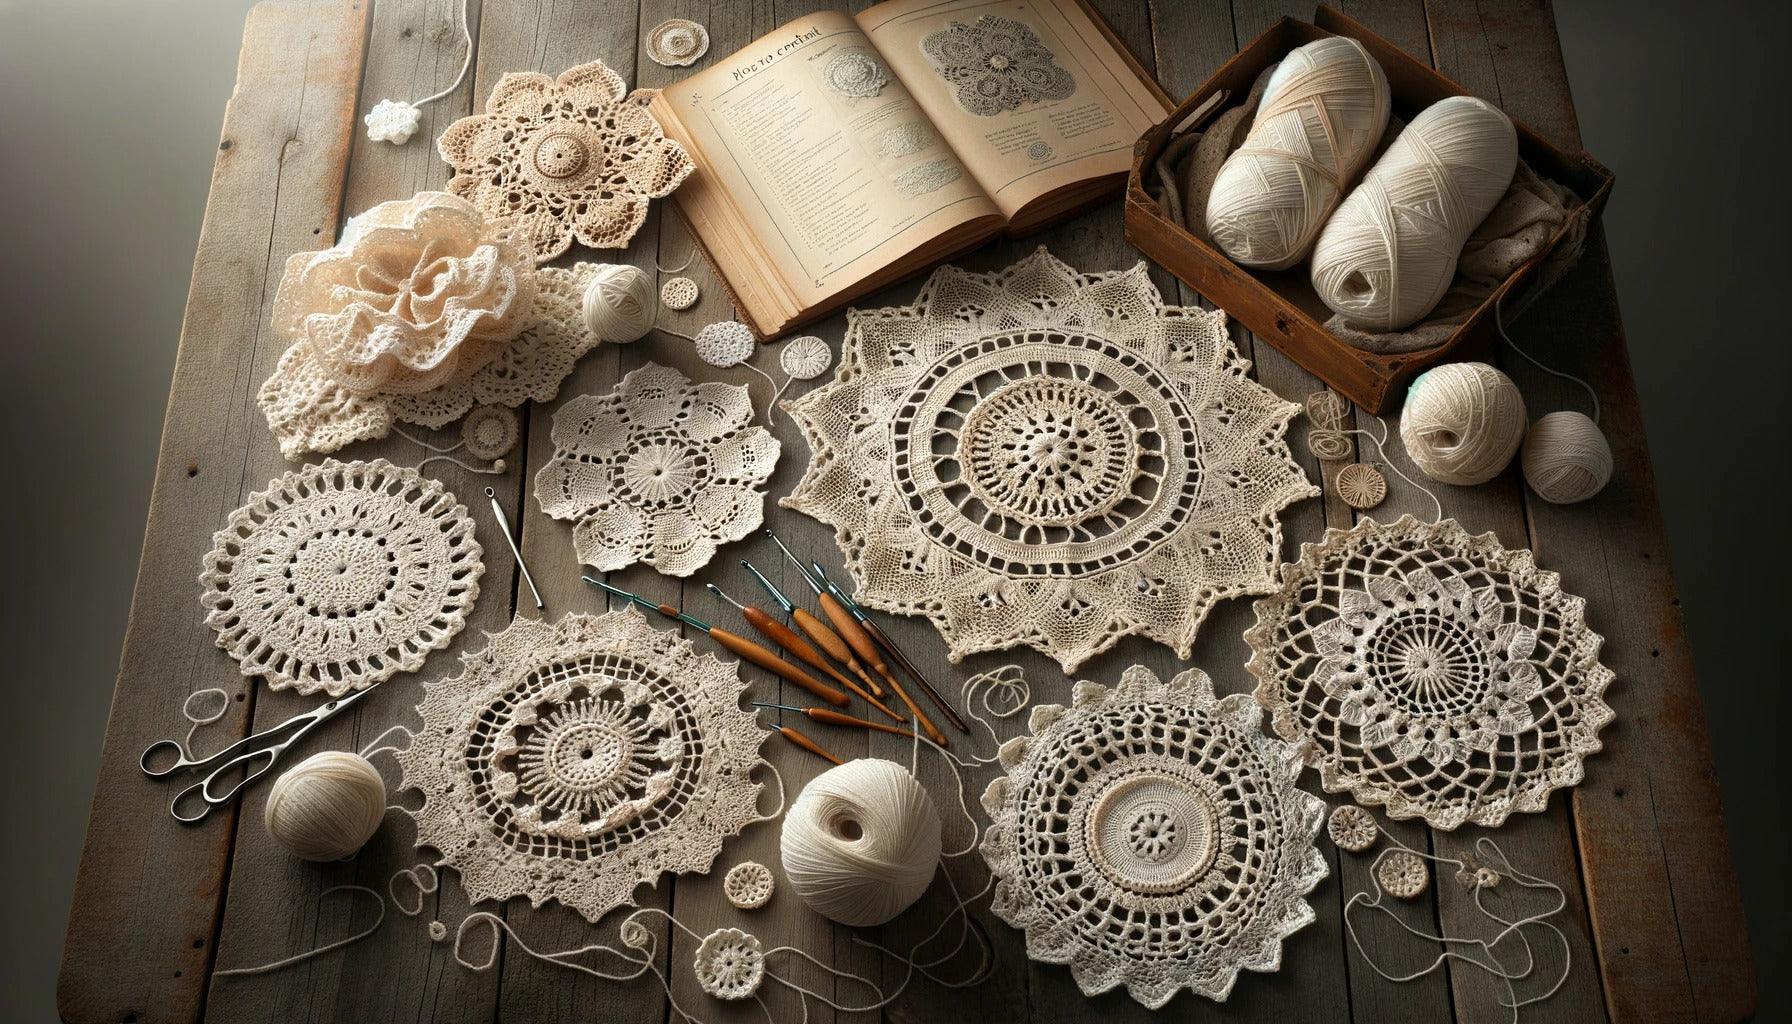
Doilies are ornamental mats, typically round and characterized by intricate openwork designs. They are often used to protect furniture surfaces or to enhance the aesthetics of a table setting. Although doilies can be made using various techniques, crocheting them is a widely popular choice.
Crocheted doilies are a testament to the artistry and skill that goes into the craft of crocheting. They are worked in rounds, starting from the center and expanding outward, creating a lace-like effect. The intricate designs, ranging from geometric to floral patterns, make them an exquisite addition to any home decor.
Learning how to crochet doilies is a wonderful way to enhance your crochet skills and create beautiful, intricate pieces. It's a project well-suited for both beginner and intermediate crocheters.
History and Cultural Significance of Crochet Doilies
Crochet doilies have a rich history, tracing back to the early Victorian era where they were used as protective mats for furniture. They quickly evolved into ornamental pieces, showcasing the craftsmanship and creativity of the homemaker.
Doilies were also significant in cultural traditions. For example, in Ireland, crafting doilies was a means of income during the Great Potato Famine in the 19th century. Women would crochet doilies and other lace items to sell them abroad.
In the 20th century, doilies became a symbol of hospitality and decorum. They adorned tables, armrests, and backs of chairs, adding an elegant touch to the household. Even today, crocheted doilies hold their charm, lending a vintage, timeless aura to interiors.
Learning how to crochet doilies not only offers a way to create beautiful handcrafted items for your home or to gift loved ones but also connects you to a rich history and tradition. With each stitch, you become part of a lineage of crafters who have found joy and satisfaction in the intricate art of doily crocheting. For those interested in starting their crochet journey, check out our guide on how to crochet for beginners.
Basics of Doily Crocheting
Learning how to crochet doilies requires an understanding of crochet patterns and the essential stitches commonly used in doilies. This knowledge will provide you with the foundation necessary to create beautiful, intricate, and delicate crochet doilies.
Understanding Crochet Patterns
Crochet patterns serve as the blueprint for your doily. They indicate the type of stitches to use, the number of stitches, and where to place them. They also provide details about the materials required, including the type and amount of thread and the size of the crochet hook. Patterns can be written in text, using abbreviations and terms, or presented as diagrams with symbols representing different stitches.
To understand a crochet pattern, you need to know the basic crochet abbreviations and symbols. For instance, "ch" stands for chain stitch, "dc" for double crochet, and "tr" for treble crochet, among others. Diagrams, on the other hand, use symbols to represent these stitches, with each symbol corresponding to a specific stitch.
Reading and understanding crochet patterns can be a challenge at first, but with practice and patience, it becomes easier. If you're just starting, our article on how to crochet for beginners provides a comprehensive guide that might help.
Essential Crochet Stitches for Doilies
While there are numerous crochet stitches, certain ones frequently appear in doily patterns. These include:
- Chain stitch (ch): The most basic crochet stitch, used to create the foundation row of your doily.
- Slip stitch (sl st): Used to join rounds or to move your crochet hook to a different position without adding height.
- Single crochet (sc): Creates a dense fabric, often used in doily centers or borders.
- Double crochet (dc): This taller stitch forms the main body of many doily patterns.
- Treble crochet (tr): An even taller stitch, used for creating open, lacy effects.
These stitches form the basis of most doily patterns. As you advance, you'll encounter more complex stitches that add texture and intricacy to your doilies. Our article on how to crochet stitches provides a more detailed explanation, along with step-by-step instructions.
| Stitch | Abbreviation | Description |
|---|---|---|
| Chain stitch | ch | The most basic crochet stitch, used to create the foundation row |
| Slip stitch | sl st | Used to join rounds or move your crochet hook to a different position |
| Single crochet | sc | Creates a dense fabric, often used in doily centers or borders |
| Double crochet | dc | Forms the main body of many doily patterns |
| Treble crochet | tr | Used for creating open, lacy effects |
Understanding the basics of crocheting doilies lays the groundwork for your journey into this beautiful craft. Once you're comfortable with the basics, you can explore more complex patterns and techniques, creating your own exquisite, timeless treasures.
Materials Needed for Crocheting Doilies
Crocheting doilies is a craft that requires patience, precision, and the right materials. To create a beautiful and intricate doily, you need high-quality crochet thread and a suitable crochet hook.
Choosing the Right Crochet Thread
Crocheting doilies traditionally involves the use of fine, thin thread to achieve delicate and detailed patterns. The most commonly used threads for doilies are size 10 or 20 cotton crochet threads. The smaller the thread size number, the thicker the thread is.
When choosing your crochet thread, consider the following aspects:
Color: Doilies are often crocheted in white or ecru to showcase their intricate patterns. However, you can also choose vibrant colors to add a modern twist to the traditional doily.
Material: Cotton thread is preferred for doilies because of its durability and natural sheen. It is also easy to care for and holds its shape well after blocking.
Weight: The thread weight determines the thickness of the thread. For doilies, finer threads are often used to create intricate and delicate patterns.
Selecting the Appropriate Crochet Hook
The crochet hook size is crucial in achieving the right gauge for your doily. The hook size will depend on the thread weight you are using. For size 10 thread, a 1.75 mm to 2 mm hook is usually appropriate, while for size 20 thread, a 1.5 mm to 1.75 mm hook might be more suitable.
When choosing your crochet hook, consider the following points:
Material: Crochet hooks can be made from a variety of materials, such as aluminum, bamboo, or plastic. Choose a hook material that feels comfortable in your hand.
Shape: Some crochet hooks have ergonomic handles designed to reduce hand fatigue. If you plan to crochet for extended periods, an ergonomic hook can make the process more comfortable.
Size: The size of the hook will determine the size of the stitches and the overall look of your doily. Use a smaller hook for tighter stitches and a more intricate design. Experiment with different hook sizes to find what works best for you.
Choosing the right materials is the first step in learning how to crochet doilies. With the right thread and crochet hook, you will be well on your way to creating beautiful and intricate doilies.
For more information on different crochet techniques and patterns, check out our comprehensive guides on how to crochet and how to crochet stitches.
Steps to Crochet a Basic Doily
Crafting a doily involves meticulous attention to detail and patience. Here's a basic guide on how to crochet doilies.
Starting Your Doily
The initiation point of a doily is a small loop known as the magic ring or magic circle. This is created by wrapping the thread around your fingers, making a loop and then pulling the thread through the loop with the crochet hook. This forms a circle that serves as the foundation for your doily. You can learn more about starting your crochet project from our article on how to crochet for beginners.
Creating the Doily Center
After you've made the magic ring, you'll then work on creating the doily center. This usually involves crocheting a series of chain stitches and double crochet stitches into the magic ring. The exact number of stitches will depend on your doily pattern. Most doily centers are circular in shape, but they can also be square or hexagonal. Refer to our article on how to crochet stitches to master these basic crochet stitches.
Expanding the Doily Pattern
Once the center of the doily is formed, you'll start expanding the pattern. This is where the intricate details of doilies come to play. You'll follow your doily pattern, creating a series of loops and stitches that radiate from the center. This often involves repeating a set of stitches in a circular pattern. With each round, the doily grows in size. As you work, make sure to count your stitches to ensure that your doily maintains a flat shape.
Finishing Your Doily
After you've completed the final round of your doily pattern, you'll need to finish off your work. This involves cutting the thread, leaving a small tail. You'll then pull this tail through the loop on your crochet hook and tighten it to create a knot. This secures your work and prevents it from unraveling. Finally, you'll weave in the tail end using your crochet hook or a yarn needle.
Remember that crocheting a doily takes time and practice. Don't be discouraged if your first few attempts don't turn out perfectly. With patience and practice, you'll soon be able to crochet exquisite doilies that you can be proud of. For more crochet project ideas and patterns, check out our articles on how to crochet patterns for blankets, how to crochet patterns for scarves, and how to crochet patterns for hats.
Tips for Crocheting Exquisite Doilies
Crafting doilies can be a rewarding experience, especially when equipped with the right techniques. Here are some tips to help you create beautiful, timeless doilies.
Mastering Lace Crochet Techniques
Lace crochet is a fundamental technique in doily creation. It gives doilies their intricate and delicate appearance. Mastering lace crochet requires understanding of several stitches like chains, single crochet, double crochet, treble crochet, and slip stitch. Additionally, picots and shell stitches are often used to create the distinctive edges and intricate designs that characterize doilies.
To become proficient in lace crochet, practice is crucial. Start with simpler patterns and gradually move to more complex ones as your skill level increases. For a deeper dive into this technique, refer to our guide on how to crochet.
Adding Unique Elements to Your Doily
While traditional doilies have a circular shape, they can also be crafted in other shapes like squares, triangles, and ovals to add a touch of uniqueness. Experimenting with different colored threads can also result in visually appealing patterns.
To create a unique design, you can incorporate elements from different doily patterns. Feel free to add your personal touch by embellishing your doily with beads, tassels, or fringes.
Remember, the beauty of handmade items lies in their uniqueness. Don't be afraid to explore and express your creativity when learning how to crochet doilies.
Blocking and Caring for Your Doily
After you have completed your doily, it's important to block it. Blocking involves wetting your doily, pinning it to a flat surface in the desired shape, and allowing it to dry. This process gives your doily a crisp, professional look and allows the intricate patterns to shine through.
In terms of care, hand washing your doily with mild soap and lukewarm water is recommended. Avoid wringing it out to prevent distortion; instead, gently squeeze out excess water and lay it flat to dry. Regular care ensures that your beautifully crocheted doilies remain in excellent condition for years to come.
Whether you're a beginner or an experienced crocheter, these tips will help you enhance your skills and create exquisite doilies. For more crochet tips and patterns, check out our articles on how to crochet stitches and how to crochet for beginners. Go forth and create timeless treasures with your crochet skills!
Common Challenges and Solutions in Doily Crocheting
Navigating through the process of crocheting doilies is often filled with challenges. It's normal for beginners to encounter difficulties, but with time, patience, and the right guidance, overcoming these obstacles becomes easier. Let's explore some common difficulties, possible solutions, and pro tips for maintaining consistent crochet tension and gauge.
Fixing Common Crochet Mistakes
Regardless of how experienced one is, mistakes are part of the learning process. Here are some common crochet mistakes and their solutions:
Dropped stitches: These can cause your doily to lack symmetry or lose its shape. To fix this, unravel your work to the point before the mistake and continue from there.
Added stitches: Extra stitches can make your doily bulge or ruffle. Similar to dropped stitches, you can correct this by undoing your work to the point before the mistake and redoing it correctly.
Inconsistent tension: This can result in uneven stitches, affecting the overall appearance of your doily. Practice maintaining a consistent tension while crocheting to solve this issue.
For a more detailed guide on how to correct these and other common mistakes, refer to our article on how to crochet for beginners.
Overcoming Difficulties in Following Doily Patterns
Reading and understanding doily patterns can be intimidating, especially for beginners. Here are some tips to help you:
Familiarize yourself with crochet symbols and abbreviations: This will make it easier to understand the instructions in the pattern.
Start with simple patterns: As your skill improves, gradually work your way up to more complex designs.
Practice: The more you crochet, the easier it becomes to follow patterns.
For more tips, check out our guide on how to crochet patterns for blankets which shares useful insights applicable to doily patterns as well.
Tips for Consistent Crochet Tension and Gauge
Maintaining consistent tension and gauge is key to creating beautiful and symmetrical doilies. Here are a few tips:
Hold your crochet hook and yarn correctly: The way you grip your hook and how you guide your yarn can greatly affect your tension and gauge.
Practice: Like any skill, practice makes perfect. Try to crochet regularly to improve your consistency.
Use the right hook size: The size of your crochet hook can significantly impact your tension and gauge. If your stitches are too tight, try using a larger hook. If they're too loose, a smaller hook may help.
For a more in-depth explanation, read our guide on how to determine crochet hook sizes.
By understanding these common challenges and their solutions, you're well on your way to mastering how to crochet doilies. Remember, it's okay to make mistakes - they're part of the learning process, and each one brings you a step closer to becoming a skilled doily crocheter.