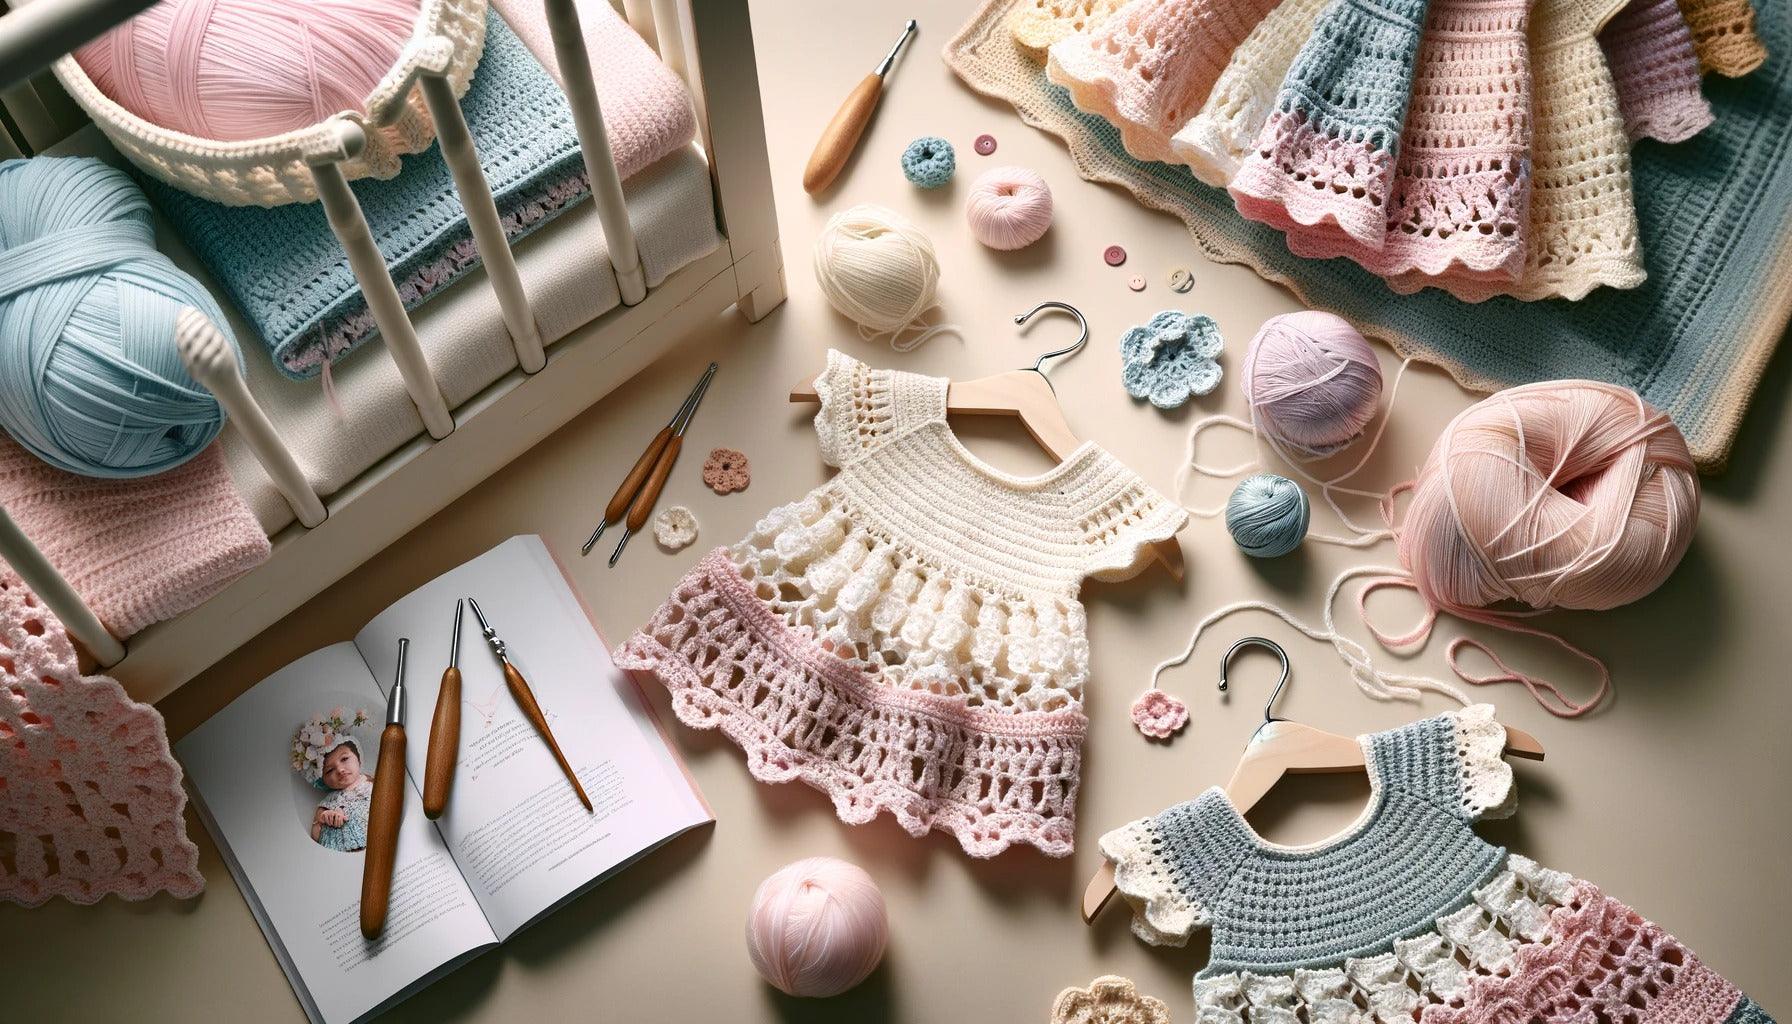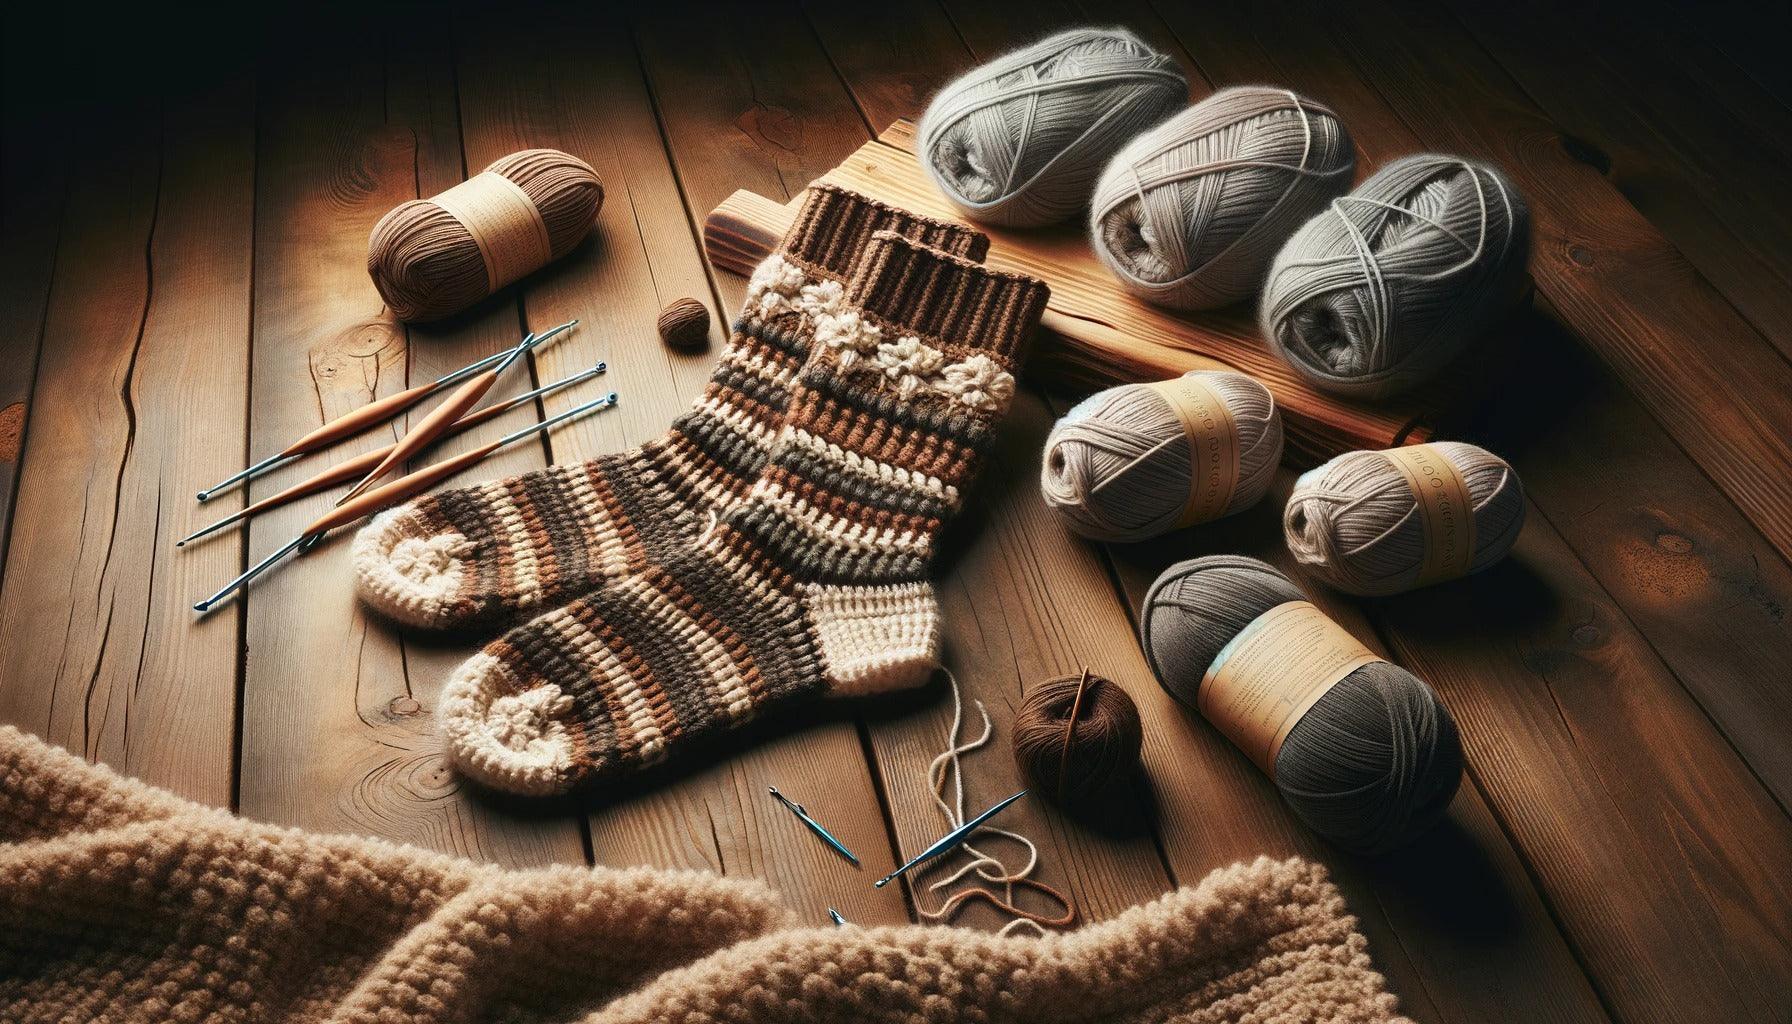
Introduction to Crocheting Socks
As you continue to improve your crochet skills, you'll find that there are numerous exciting projects to embark on. One such project is crocheting socks, which can be both a practical and satisfying craft. This guide will introduce how to crochet socks for beginners, starting with the reasons to crochet socks and understanding the basic concepts and terms.
Why Crochet Socks
Crocheting socks is a rewarding project for several reasons. Firstly, socks are a practical item that everyone uses, making them excellent gifts for friends and family. Secondly, crafting socks allows you to hone your crochet skills, particularly in creating intricate patterns and mastering the art of shaping. Lastly, crocheted socks offer a level of comfort that is hard to match, as they can be customized to fit perfectly and crafted from your chosen yarn for ultimate coziness.
Basic Concepts and Terms
Before you start on your sock crocheting journey, it's important to familiarize yourself with some basic concepts and terms:
Stitch: The fundamental unit in crocheting. There are several types of stitches you'll need to learn to crochet socks, such as the chain stitch, slip stitch, single crochet, half double crochet, double crochet, and treble crochet. To learn these stitches, check out our guide on how to crochet stitches.
Yarn: The material you'll be using to crochet. Yarn comes in various types, including cotton, wool, acrylic, and blends. The choice of yarn can significantly influence the comfort, appearance, and durability of your socks.
Hook: The tool used to create stitches. Hooks come in various sizes; the size you choose will depend on the yarn you're using and the stitch density you want to achieve. To learn more about selecting the right hook size, see our guide on how to determine crochet hook sizes.
Gauge: This refers to the number of stitches and rows in a specified area (usually an inch). Maintaining a consistent gauge is crucial for ensuring your socks fit correctly.
Pattern: The instructions you'll follow to create your socks. Patterns provide step-by-step guidance on how to create each part of the sock, from the cuff to the toe. They also specify the type of yarn, the hook size, and the gauge you should aim for.
With these basic concepts and terms in mind, you're ready to embark on your sock crocheting journey. Remember, the key to successful crocheting is patience and practice, so don't be discouraged if your first few attempts don't turn out perfectly. With time and persistence, you'll be able to create beautiful, comfortable, and custom-fit socks. For a comprehensive guide on getting started, check out our article on how to crochet for beginners.
Understanding Crochet Techniques for Socks
Crocheting socks is a fun and rewarding project for both beginners and experienced crochet enthusiasts. In this section, we'll discuss the different types of stitches used when crocheting socks and the anatomy of a crocheted sock.
Types of Stitches for Socks
Learning how to crochet socks for beginners involves understanding the basic stitches and how they can be applied to create different textures and patterns. Here are some common stitches used in crocheting socks:
Single Crochet (SC): This is the most basic crochet stitch and is often used in sock patterns for its tight weave, which provides a good structure and warmth.
Half Double Crochet (HDC): The HDC is taller than the SC and results in a more flexible fabric, which is useful for parts of the sock that need to stretch, like the cuff.
Slip Stitch (SL ST): This stitch is used to join rounds and to create decorative edging.
Double Crochet (DC): This stitch creates a looser fabric and is often used in lacy sock patterns.
Front and Back Post Double Crochet (FPDC/ BPDC): These stitches are used to create ribbing in the cuff of the sock, adding elasticity.
For those new to crocheting, our guide on how to crochet stitches provides a helpful introduction.
The Anatomy of a Crocheted Sock
Understanding the anatomy of a crocheted sock can make the process of learning how to crochet socks for beginners much simpler. Here are the basic parts of a crocheted sock:
Cuff: The cuff is the top part of the sock that wraps around the lower part of your leg. It is usually crocheted in a stitch that provides elasticity, such as a ribbing pattern.
Leg: The leg portion extends from the cuff to the start of the heel. The leg length can vary depending on the style of sock you want to crochet, from ankle socks to knee-highs.
Heel: The heel is created with short rows to make a turn in the sock. This part can be a bit tricky for beginners but becomes easier with practice.
Foot: The foot of the sock extends from the heel to the start of the toes. It is typically crocheted in the round, like the leg.
Toe: The toe is the final part of the sock. It is usually decreased gradually to fit the shape of the foot.
Understanding these basic parts of a sock can help you follow patterns and create your own designs. For more in-depth guidance, our article how to crochet socks provides step-by-step instructions for creating your first pair of socks. With practice and patience, you'll soon be able to crochet socks with ease and confidence.
Planning Your Sock Project
Before you delve into the process of crocheting socks, it's essential to plan your project accurately. This involves choosing the right yarn, selecting an appropriate hook size, and taking accurate foot measurements.
Choosing the Right Yarn
The yarn you select will significantly influence the comfort and durability of your crocheted socks. For socks, you'll want a yarn that is durable, comfortable against the skin, and easy to care for. A blend of wool and nylon is a popular choice as it combines the warmth and breathability of wool with the strength and durability of nylon.
It's also important to consider the yarn's weight. Fingering or sock weight yarns are typically used for crocheted socks as they allow for a tight, dense fabric that can withstand wear and tear. Moreover, the finer yarn will ensure that your socks aren't too bulky and can comfortably fit into your shoes.
Selecting Your Hook Size
The size of your crochet hook can affect the fabric's density and the fit of your socks. A smaller hook will result in a tighter fabric, which is ideal for socks. It's always a good idea to start with the hook size recommended in your pattern. However, note that everyone's tension is different. If you crochet tightly, you might need a larger hook, while if you crochet loosely, a smaller hook might be better. For more information on choosing the right hook size, check out our article on how to determine crochet hook sizes.
| Yarn Weight | Hook Size |
|---|---|
| Fingering / Sock | 2.25 - 3.5 mm |
| Sport / Baby | 3.5 - 4.5 mm |
| DK / Light Worsted | 4.5 - 5.5 mm |
| Worsted / Medium | 5.5 - 6.5 mm |
| Bulky / Chunky | 6.5 - 9 mm |
| Super Bulky | 9 - 15 mm |
Taking Accurate Foot Measurements
To ensure a good fit for your crocheted socks, accurate foot measurements are crucial. Measure the length of your foot from heel to toe, the circumference around the widest part of your foot, and the length of your leg from the heel to where you want the sock to end. Write down these measurements as you'll need to refer to them while crocheting.
| Measurement | How to Measure |
|---|---|
| Foot Length | Measure from the back of your heel to the tip of your longest toe. |
| Foot Circumference | Measure around the widest part of your foot. |
| Leg Length | Measure from the back of your heel up your leg to where you want the sock to end. |
By carefully selecting your yarn, hook size, and taking accurate measurements, you're setting the stage for a successful sock crocheting project. Next, you'll be ready to dive into the process of how to crochet socks for beginners.
Crocheting Your First Sock
Embarking on the journey of how to crochet socks for beginners involves a step-by-step process that begins with the cuff and progresses to the toe. Let's explore each of these stages in detail.
Starting with the Cuff
The cuff is the topmost part of the sock that sits on your calf. It's typically crocheted in a ribbed pattern to ensure a snug fit. To start, make a chain of stitches that comfortably wraps around your calf. Then, work in either single crochet or half-double crochet stitches back and forth in rows, making sure to crochet in the back loop only to create the ribbed effect. Once the cuff is as wide as you'd like, join the ends with slip stitches to form a circle.
Working on the Leg
Next, you'll transition to crocheting the leg of the sock. This is where you can incorporate different stitch patterns or color work to add some flair to your sock. Make sure to keep track of the number of rounds you do, as you'll want to replicate this on the second sock.
Forming the Heel
The heel is usually the trickiest part for beginners. It involves increasing and decreasing stitches to create a turn in the sock. There are different methods to crochet a heel, but one of the most common ones for beginners is the "flap and gusset" method. This involves crocheting a rectangular flap for the back of the heel, then picking up stitches along the sides of the flap to form the gussets. Decreases are made at the gussets to shape the heel turn.
Crafting the Foot
Once the heel is formed, you'll proceed to crochet the foot of the sock. This is typically done in rounds of continuous stitches until you reach the desired length, just before the start of your toes.
Finishing Off with the Toe
The toe part of the sock is shaped using decreases to taper off the end. The number of rounds you'll need for the toe will depend on the size of the sock and the length of your toes. Once you've reached the end, cut the yarn leaving a long tail. Thread this tail through a yarn needle, and weave it through the front loop of each of the remaining stitches. Pull it tight to close off the toe, then weave in the end securely.
Through each of these stages, it's important to take your time and count your stitches to ensure consistency. Remember, crocheting socks involves creating two identical pieces, so keeping track of your rounds and stitches is key. For more detailed instructions and visual guides on these steps, visit our comprehensive guide on how to crochet socks.
Troubleshooting Common Issues
When learning how to crochet socks for beginners, it's normal to encounter a few common issues along the way. Let's delve into how to solve three prevalent problems: dealing with loose stitches, addressing sizing problems, and fixing uneven seams.
Dealing with Loose Stitches
Loose stitches can affect the fit and comfort of your crocheted socks. They often occur when the tension in your yarn isn't consistent. Solution to this issue involves practicing your tension control. It may also be beneficial to try a smaller hook size if your stitches are consistently too loose.
Remember, consistent tension is key to producing even stitches. Experiment with holding your yarn in different ways until you find a method that allows you to maintain a consistent tension. For more tips on tension control, check out our article on how to crochet.
Addressing Sizing Problems
Sizing problems can be frustrating, especially when your sock doesn't fit as intended. These issues often occur when foot measurements aren't taken accurately or when the chosen yarn and hook size don't match the pattern's gauge.
Ensure you have taken accurate foot measurements before starting your sock project. These should include the length of the foot, circumference of the ball of the foot, and height of the heel.
If you're still having sizing issues, it could be due to your chosen yarn and hook. Different yarns and hooks can produce different gauges, even when using the same stitch pattern. Therefore, it's always recommended to make a gauge swatch before starting your sock project. This will help you match the pattern's gauge and ensure that your sock fits properly.
| Measurement | Description |
|---|---|
| Foot Length | Measure from the heel to the tip of the longest toe |
| Ball Circumference | Measure around the widest part of your foot |
| Heel Height | Measure from the floor to the back of your ankle |
For more information on how to determine crochet hook sizes, check out our article on how to determine crochet hook sizes.
Fixing Uneven Seams
Uneven seams can result in a less-than-perfect finish to your crochet socks. They often occur when joining rounds incorrectly or when not keeping an even number of stitches per round.
To ensure your seams are straight, always use a stitch marker to clearly mark the beginning and end of each round. This can help you maintain an even number of stitches per round and prevent your seam from drifting.
If you're still struggling with uneven seams, consider practicing on smaller projects first. This will give you the opportunity to perfect your technique before moving on to larger, more complex projects like socks. Our how to crochet for beginners guide provides a range of beginner-friendly projects to get you started.
Crocheting socks can be a fun and rewarding project, but like with any new skill, it can come with its share of challenges. By understanding how to troubleshoot these common issues, you'll be well on your way to creating beautiful, comfortable, and well-fitted crocheted socks.
Tips for Crocheting Socks
As you embark on your journey of learning how to crochet socks for beginners, there are a few tips that can enhance your experience and help you produce better results.
Practice Makes Perfect
Crocheting socks involves a variety of techniques and can seem daunting at first. However, with patience and practice, you can master these techniques and create beautiful, cozy socks. Start with simpler patterns and gradually move on to more complex designs as your skills improve. Don't be discouraged if your first pair of socks isn't perfect. Each project is a learning experience and an opportunity to improve. Check out our article on how to crochet for beginners for more tips on honing your crochet skills.
Experimenting with Patterns
Once you've grasped the basics, don't be afraid to experiment with different patterns. Trying out different stitch patterns and color combinations can add a unique touch to your socks and make them truly one-of-a-kind. You can even mix and match different techniques from various patterns to create your own unique design. Remember, the best part about crocheting is the ability to customize and express your creativity. Visit our collection of articles on how to crochet patterns for blankets, how to crochet patterns for scarves, and how to crochet patterns for hats for inspiration on different patterns and techniques.
Caring for Your Crocheted Socks
Proper care is essential to ensure that your crocheted socks last a long time. Always follow the care instructions for the yarn you've used. Most crocheted items can be gently hand washed in cold water with a mild detergent. Avoid wringing or twisting the socks as this can cause them to lose their shape. Instead, gently squeeze out excess water and lay them flat to dry. Additionally, consider storing your socks flat rather than folding them to help maintain their shape. For more tips on caring for your crocheted items, check out our article on how to crochet for kids.
By following these tips, you can enhance your sock crocheting experience and create beautiful, cozy socks that you'll be proud to wear or give as gifts. Happy crocheting!