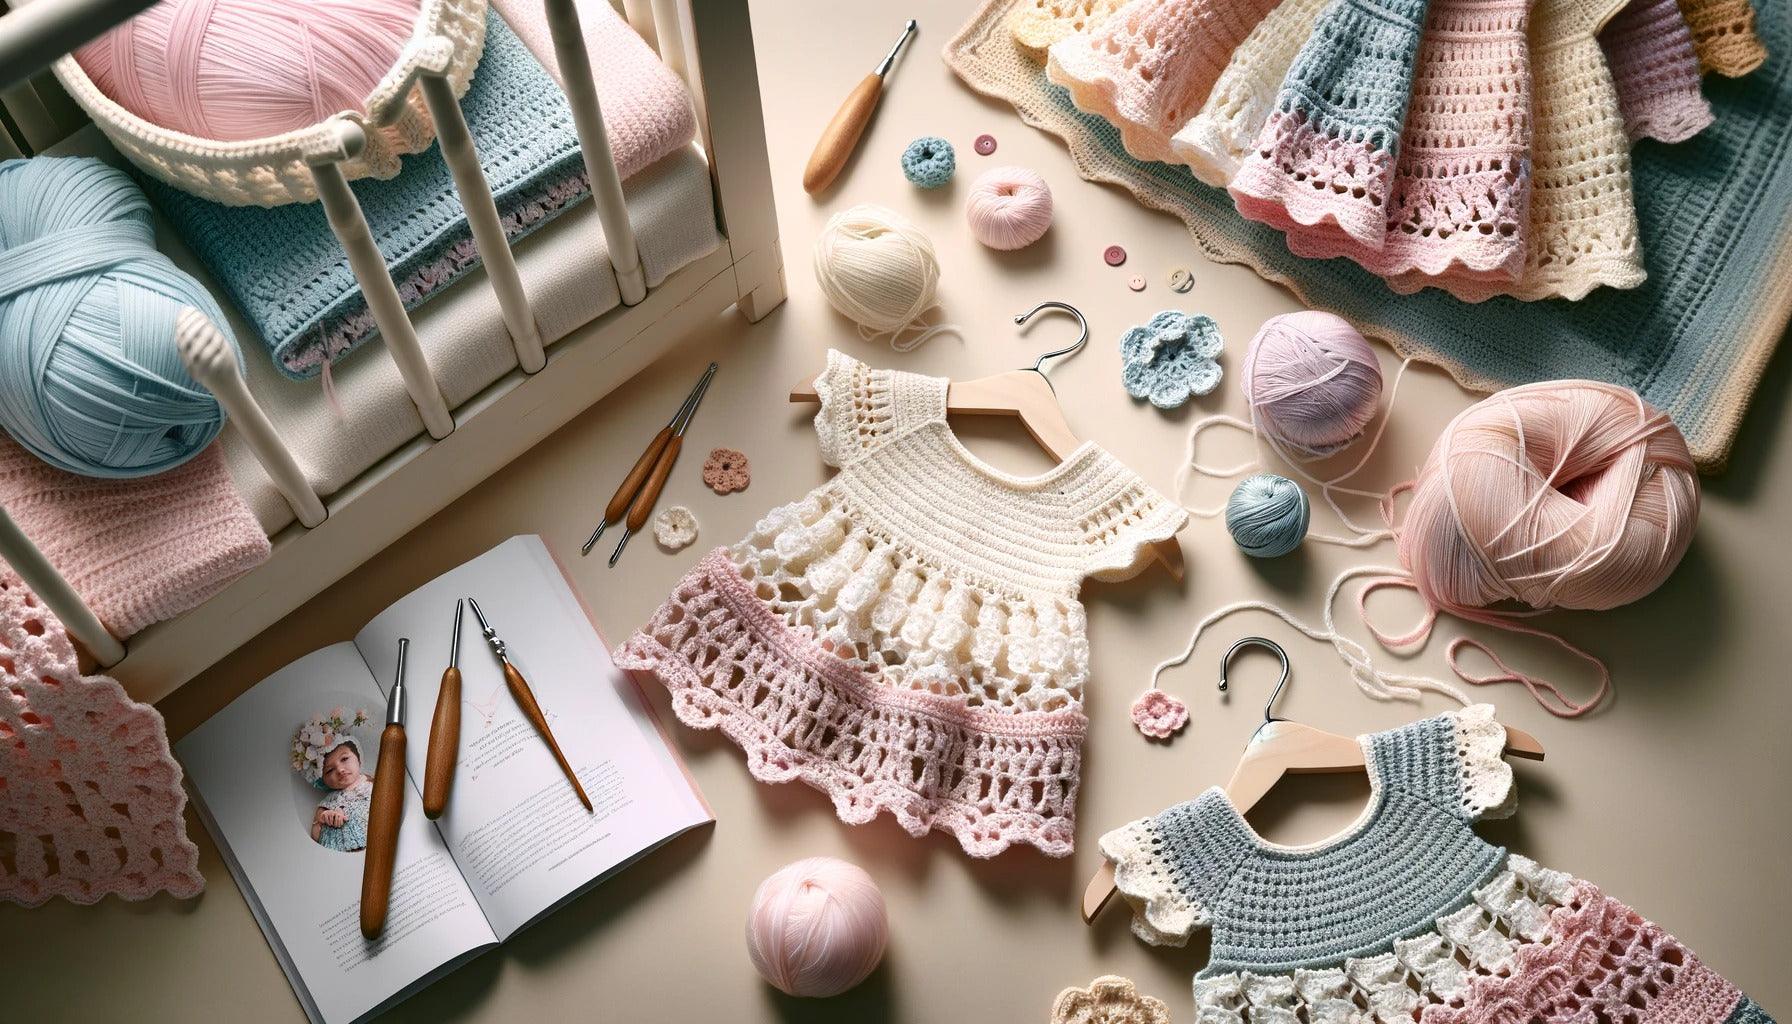
Introduction to Crocheting Tunic Tops
In the realm of crocheting, creating unique wearable items is always a rewarding endeavor. One project that's gaining popularity is learning how to crochet tunic tops.
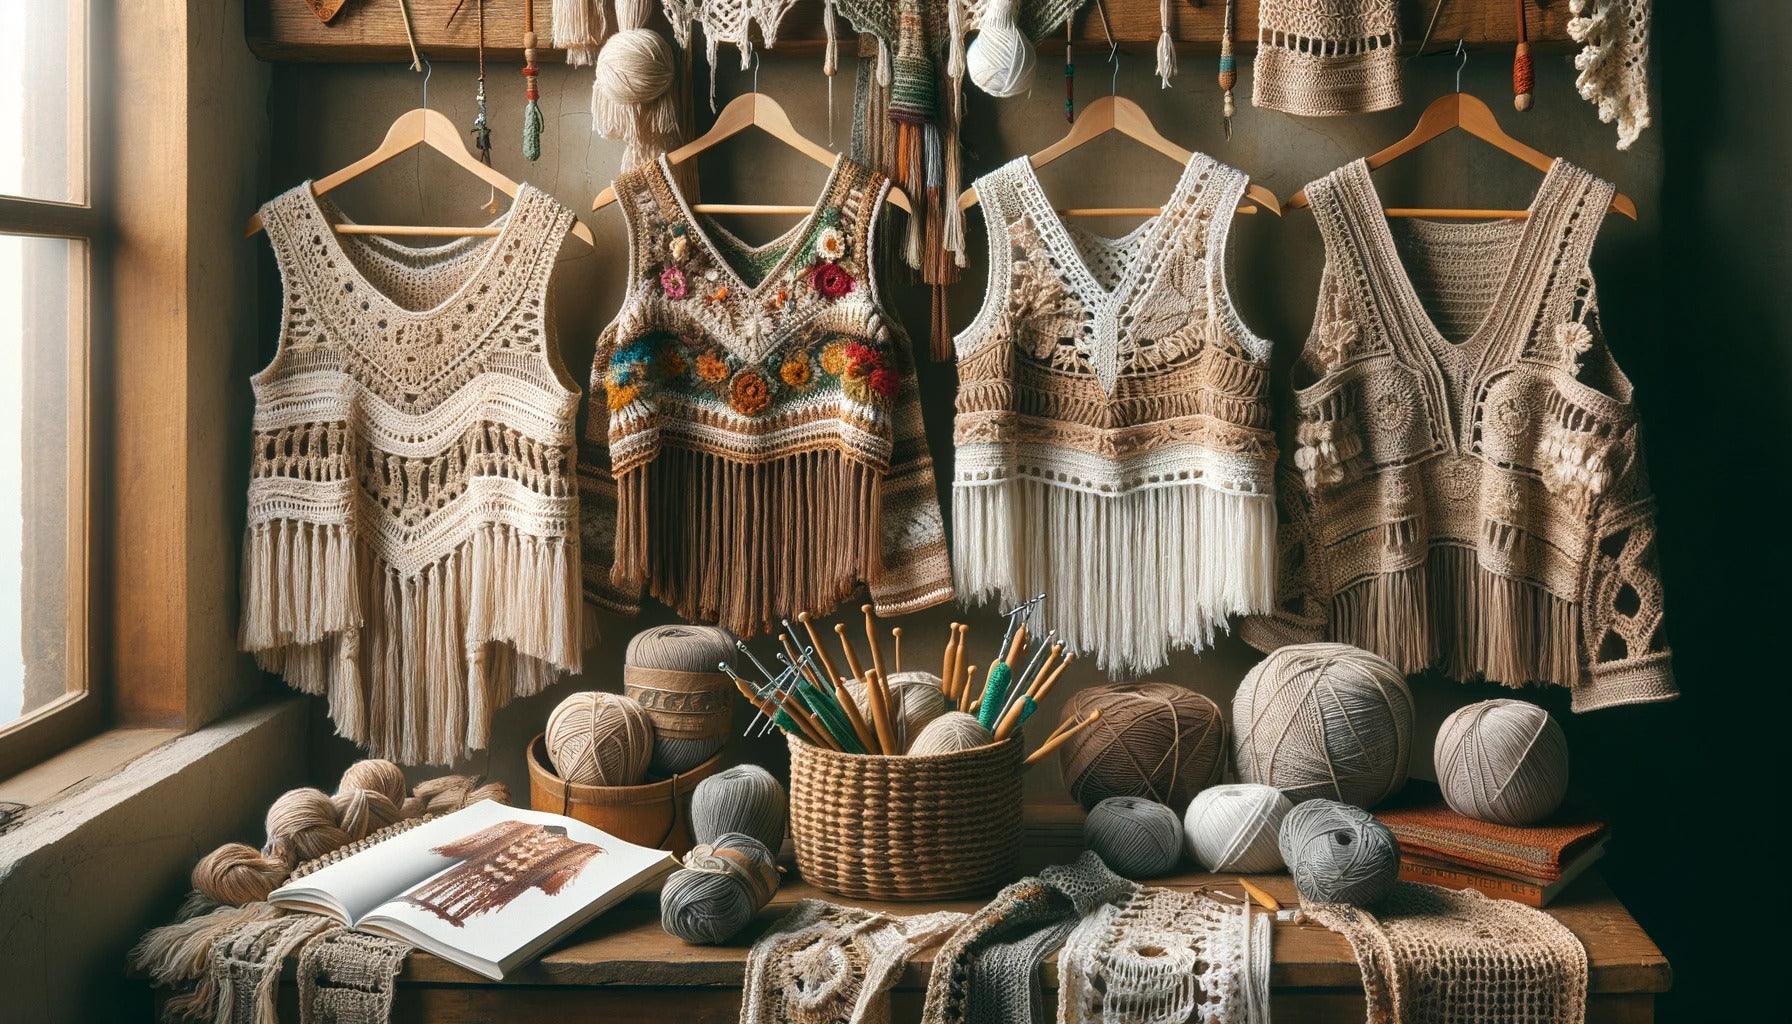
What is a Tunic Top?
A tunic top is a loose-fitting garment that typically extends to the hips or thighs. Due to its versatile nature, it can be worn on various occasions and styled in multiple ways. Whether paired with jeans for a casual look or with leggings for a comfortable outfit, a tunic top is a staple wardrobe item.
When crocheted, these tops display a unique handmade aesthetic that can't be found in store-bought clothing. The variety of stitches and patterns used in crocheting allows for endless design possibilities, making each tunic top a unique piece of wearable art.
Why Crochet Your Own Tunic Top?
Creating your own crocheted tunic top allows you to customize the fit, style, and color to match your personal preferences. This gives you the opportunity to create a one-of-a-kind item that truly expresses your style.
Crocheting a tunic top can also be a great way to expand your crocheting skills. It involves different techniques such as working in the round for the yoke and using a variety of stitches to create interesting textures and patterns. If you're new to crocheting, this project can help you practice and improve your skills. Explore our how to crochet for beginners article for some basic techniques and tips.
Moreover, crocheting your own clothing items, like tunic tops, can be a cost-effective alternative to buying from retail stores. With a few skeins of yarn and a crochet hook, you can create a fashionable piece that's comparable, if not superior, to what you might find in a store.
Lastly, the process of crocheting can be therapeutic. It's a relaxing activity that can be done at your own pace, offering a break from the hustle and bustle of daily life. The satisfaction of seeing your project come to life, stitch by stitch, is a joy in itself.
In the following sections, we will explore the basics of crocheting tunic tops, from choosing the right yarn and hook to creating your own pattern and crocheting your tunic top. Whether you're a beginner or an experienced crocheter, these tips and techniques will help you create a beautiful, custom-made tunic top.
Basics of Crocheting Tunic Tops
As you embark on your journey to learn how to crochet tunic tops, it's important to start with the basics. This includes understanding the right stitches for creating tunics and choosing the right yarn and hook for your project.
Understanding Basic Crochet Stitches for Tunics
The beauty of crocheting tunics lies in the variety of stitches that can be used to create diverse and intricate patterns. Some of the basic stitches that are commonly used in crocheting tunic tops include the chain stitch, single crochet, and double crochet. These stitches form the foundation of most crochet patterns and can be combined in various ways to create unique designs.
| Stitch | Description |
|---|---|
| Chain Stitch | This is the most basic crochet stitch and forms the foundation of most crochet projects. |
| Single Crochet | This is a simple stitch that creates a firm, dense fabric. |
| Double Crochet | This stitch is twice as tall as the single crochet and produces a softer, looser fabric. |
For a detailed guide on how to perform these stitches, refer to our articles on how to crochet and how to crochet stitches.
Choosing the Right Yarn and Hook
The choice of yarn and hook can significantly affect the outcome of your crocheted tunic top. Different yarns produce different textures and drape, which can impact the look and feel of your finished tunic.
When selecting yarn for your tunic top, consider the desired weight and drape of the garment. Lightweight yarns like cotton and bamboo are ideal for summery, breezy tunics, while heavier yarns like wool and acrylic are suited for warmer, cozier tunics.
The crochet hook size should be chosen based on the weight of the yarn and the desired tightness or looseness of the stitches. A larger hook will produce looser stitches and a drapier fabric, while a smaller hook will result in tighter stitches and a firmer fabric.
| Yarn Type | Hook Size | Ideal For |
|---|---|---|
| Lightweight Yarn (cotton, bamboo) | 3.5 - 4.5 mm | Summery, breezy tunics |
| Heavier Yarn (wool, acrylic) | 5.0 - 6.0 mm | Warmer, cozier tunics |
For more information on selecting the right hook size for your project, check out our article on how to determine crochet hook sizes.
Remember, mastering the basics is the first step in your crocheting journey. Once you have a solid understanding of the basic stitches and have chosen the right yarn and hook for your project, you'll be ready to start creating beautiful, customized tunic tops.
Creating Your Tunic Top Pattern
Before diving into how to crochet tunic tops, it's vital to design your pattern. This includes outlining the shape and size of the tunic top, as well as determining the stitch pattern you'll use.
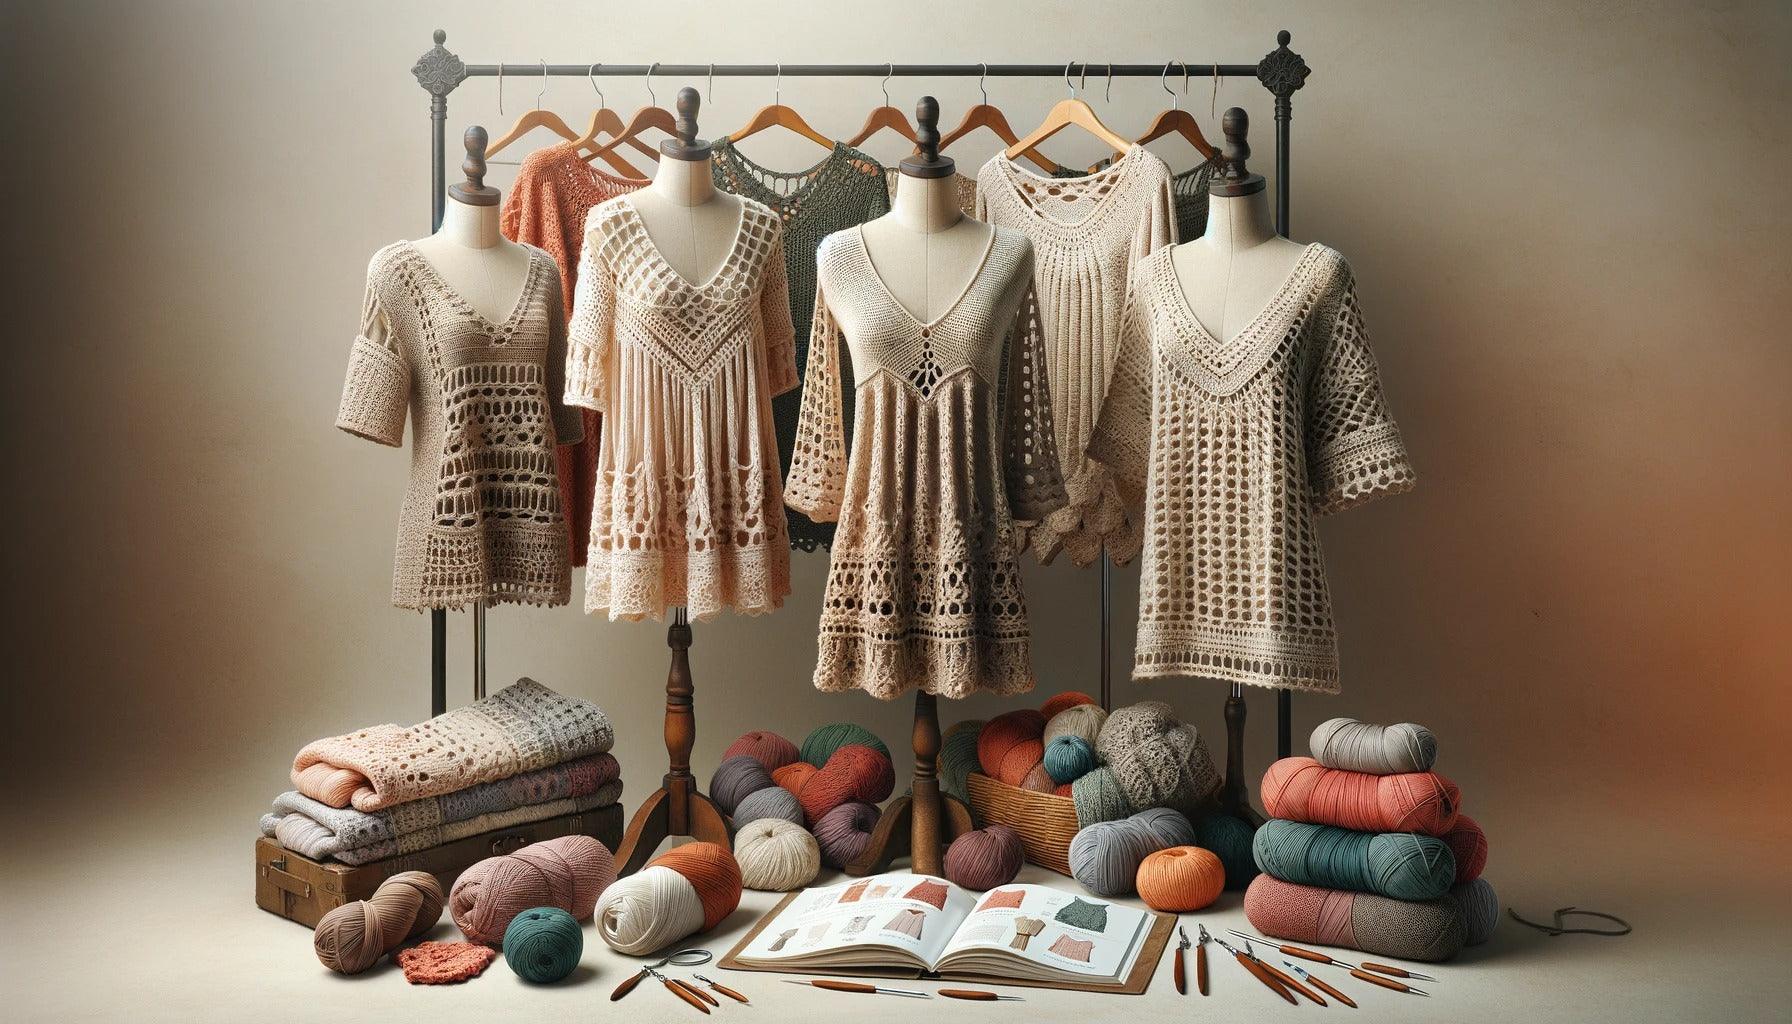
Designing the Shape and Size
When it comes to the shape of your tunic top, think about the silhouette you desire. Tunics can range from form-fitting to loose and flowy. The length can also vary, with some tunics falling just below the hips and others extending down to the mid-thigh or lower.
To determine the size of your tunic top, you'll need to take a few key measurements, including your bust, waist, and hip circumference, as well as your desired tunic length. These measurements will guide the number of stitches and rows you'll need to create your pattern.
Here's a simple table to help you visualize how these measurements might translate into a basic tunic top pattern:
| Measurement | Small | Medium | Large | X-Large |
|---|---|---|---|---|
| Bust | 34" | 38" | 42" | 46" |
| Waist | 28" | 32" | 36" | 40" |
| Hip | 36" | 40" | 44" | 48" |
| Length | 28" | 28" | 30" | 30" |
Remember, these are just guidelines. Feel free to adjust the measurements to achieve your desired fit.
Determining the Stitch Pattern
The stitch pattern you select for your tunic top will greatly influence the texture and drape of the garment. Some stitch patterns, like single crochet or half double crochet, create a denser fabric that's ideal for cooler weather. Others, such as the shell stitch or V-stitch, create a more open, lacy fabric that's perfect for summer tunics.
Consider the look and feel you want for your tunic top. Do you want a solid, warm tunic for the winter months? Or a breezy, lacy top for the summer? Once you've decided, you can select a stitch pattern that aligns with your vision.
For beginners, simple stitch patterns like the single crochet or double crochet are great starting points. As you gain confidence, you can try out more complex stitch patterns to add texture and interest to your tunic top. Check out our stitch guide on how to crochet stitches for some inspiration.
By taking the time to design your tunic top pattern, you'll be well-prepared to start crocheting. Remember, the beauty of crochet is that it's a flexible craft - you can always adjust your pattern as you go to achieve your desired fit and style. Happy crocheting!
Crocheting Your Tunic Top
When it comes to learning how to crochet tunic tops, the process can be broken down into three main sections: the yoke, the body, and the finishing touches. Each section requires a different approach and technique, which will be detailed below.
Starting Your Project: The Yoke
The yoke is the uppermost part of the tunic top that fits around the neck and shoulders. It's the foundation of your top and sets the tone for the rest of the project.
Start by choosing a stitch pattern that you're comfortable with. Basic stitches like single crochet or double crochet work well for beginners. For more intricate designs, you could consider shell stitches or fan stitches. You can find detailed instructions on how to crochet stitches on our website.
Remember to make sure your yoke is wide enough to comfortably fit over your head. This usually means crocheting a chain that measures around your head, then joining the chain with a slip stitch to form a circle.
Working on the Body
Once the yoke is complete, it's time to move on to the body of the tunic top. This is where you can let your creativity shine by incorporating different stitch patterns or color changes.
The body of the tunic top is typically worked in rounds, starting from the bottom of the yoke. It's important to increase stitches evenly as you work your way down to create a flattering, flowy shape.
Keep in mind that the length of the tunic top can be customized according to your preference. Some people prefer a hip-length tunic, while others might opt for a longer, dress-like version.
Adding Finishing Touches: Sleeves and Borders
Once the body of your tunic top is complete, you can add the finishing touches. This usually involves crocheting the sleeves and adding a border to the bottom of the tunic.
Sleeves can be as simple or as elaborate as you wish. For a minimalist look, consider adding cap sleeves or leaving the tunic sleeveless. If you prefer a more traditional look, you can crochet full-length or three-quarter length sleeves.
Adding a border to your tunic top helps to give it a finished look. This can be done using simple stitches like single crochet or slip stitches. For a more decorative edge, you could incorporate a shell border or a picot edge.
Remember, the most important part of any crochet project is to have fun and make something you love. Whether you're a beginner just starting out, or an experienced crocheter looking for a new challenge, crocheting a tunic top is a rewarding project that lets you showcase your skills and add a unique piece to your wardrobe.
Tips for Crocheting Tunic Tops
Mastering the art of how to crochet tunic tops involves more than just knowing the stitches and patterns. It also requires an understanding of key techniques, such as maintaining consistent tension, ensuring a proper fit, and caring for your finished product.
Maintaining Consistent Tension
Maintaining consistent tension is crucial to achieving a professional-looking finish in your crochet projects. Tension refers to how tightly or loosely you hold the yarn as you work. Inconsistent tension can lead to uneven stitches and a distorted shape in your tunic top.
To maintain a consistent tension, it's important to find a comfortable way of holding your yarn and hook that allows you to control the flow of the yarn. This may take some practice, and you may need to experiment with different methods until you find the one that works best for you. For more detailed advice, check out our guide on how to crochet.
Ensuring Proper Fit
Ensuring a proper fit is another key aspect of crocheting tunic tops. This involves taking accurate measurements of your body and adjusting your pattern as necessary to fit those measurements.
When measuring, be sure to account for areas such as the bust, waist, hips, and arm length. Use these measurements to calculate the number of stitches and rows you will need for each section of your tunic top. If you're unsure of how to take accurate measurements, check out our guide on how to crochet for beginners.
Caring for Your Crocheted Tunic Top
Once you've completed your tunic top, it's important to care for it properly to ensure it maintains its shape and quality. This includes washing, drying, and storing your tunic top correctly.
Most crocheted items can be hand washed in cool water with a gentle detergent. After washing, gently squeeze out excess water (do not wring) and lay flat to dry. Avoid hanging your tunic top to dry as this can stretch out the fabric.
When storing your tunic top, fold it neatly and store it in a cool, dry place. Avoid storing it in direct sunlight as this can cause the colors to fade.
By following these tips, you can ensure that your crocheted tunic top will look great and last for many years to come. For more advanced crochet projects, check out our guides on how to crochet patterns for blankets or how to crochet patterns for scarves.