Introduction to Crocheting Cowl Scarves
In the world of crochet, there are numerous projects you can undertake, each offering its unique charm and sense of accomplishment. One such project is crocheting cowl scarves. This guide will provide answers to what a cowl scarf is and why you should consider crocheting one.
What is a Cowl Scarf?
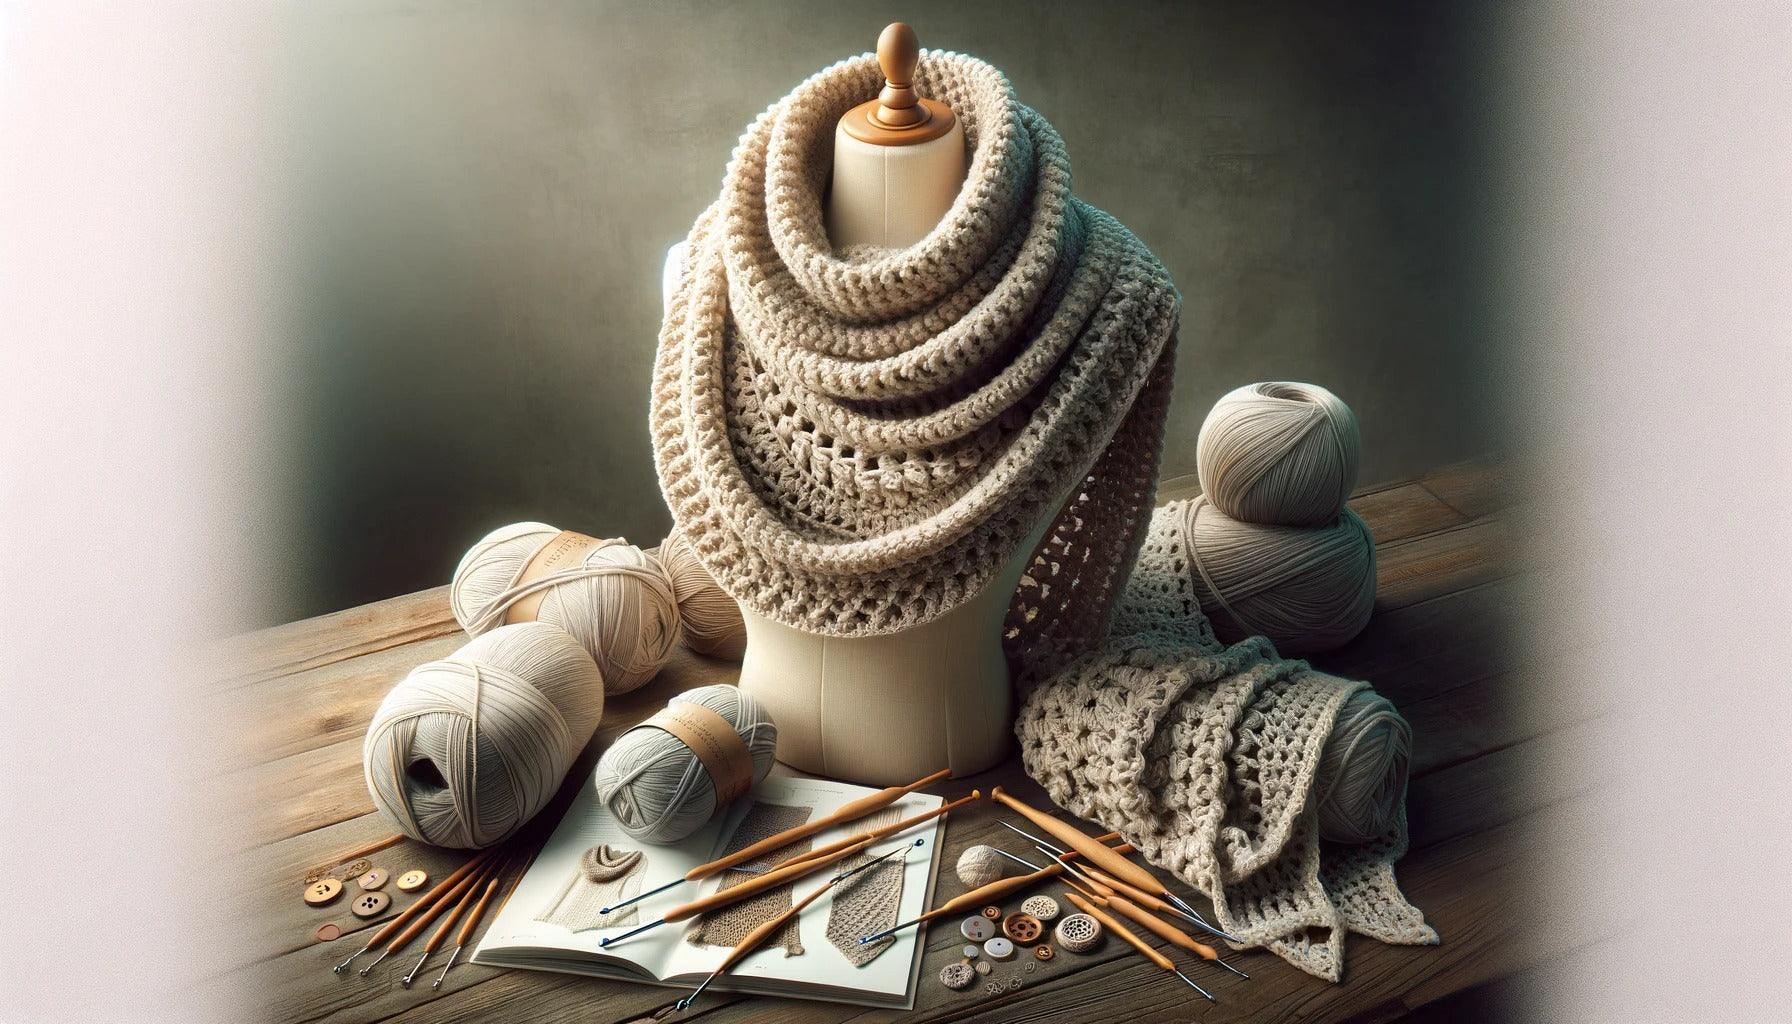
A cowl scarf, often just referred to as a cowl, is a continuous loop scarf that is worn around the neck. Unlike traditional scarves that have two ends, cowl scarves form a closed loop. This design gives them a snuggly fit around the neck, providing optimal warmth and comfort during colder weather.
In terms of crocheting, cowl scarves are versatile projects that allow for a wide range of patterns and designs. Whether you prefer simple stitches or intricate designs, there's a cowl scarf pattern that will match your skill level and style preference.
Why Crochet a Cowl Scarf?
There are several reasons why you might want to learn how to crochet cowl scarves.
Versatility: Cowl scarves can be made in a variety of sizes, from snug neck warmers to oversized cowls that can also be worn over the shoulders. This versatility makes them a practical and stylish accessory for any outfit.
Skill development: Crocheting a cowl scarf is an excellent way to practice and master different crochet stitches. Whether you're a beginner looking to grasp the basics or an intermediate crocheter ready to tackle more complex patterns, a cowl scarf project can offer the right level of challenge.
Quick and satisfying project: Compared to larger projects like blankets or garments, a cowl scarf can be completed in a relatively short amount of time. This makes it a satisfying project to work on, especially if you enjoy seeing quick results.
Perfect as gifts: Handmade cowl scarves make thoughtful and personalized gifts. By choosing the recipient's favorite colors or designing the cowl scarf to match their style, you can create a unique gift that they'll treasure.
In the sections to follow, we'll delve into the basics of crochet, the tools you'll need, and provide a step-by-step guide to creating your own cowl scarf. If you're new to crochet, you might find our article on how to crochet for beginners helpful.
Understanding Crochet Basics
Before embarking on the journey of learning how to crochet cowl scarves, it's crucial to grasp the basics of crocheting. This includes understanding the essential crochet stitches used in cowl scarves and the tools required for the project.
Essential Crochet Stitches for Cowl Scarves
The beauty of crocheting cowl scarves lies in its flexibility. You can create an array of different designs using a variety of crochet stitches. Here are a few essential stitches that are commonly used in crocheting cowl scarves:
- Chain Stitch (ch): This is the most basic of all crochet stitches and forms the foundation of most crochet projects.
- Single Crochet (sc): This is the simplest stitch to create a dense and tight fabric, ideal for warm cowl scarves.
- Double Crochet (dc): This stitch creates a looser and more flexible fabric, adding a decorative touch to your cowl scarf.
- Half Double Crochet (hdc): This stitch is a blend of single and double crochet, providing a balance between density and flexibility.
- Treble Crochet (tr): This stitch adds height and airiness to your cowl scarf, perfect for a lacy design.
For an in-depth guide on how to perform these stitches and more, don't forget to check our article on how to crochet stitches.
Tools Needed for Crocheting Cowl Scarves
To get started on your cowl scarf project, you will need the following tools:
Crochet Hook: This is the primary tool used for crocheting. The size of the hook depends on the thickness of the yarn and the desired tightness of your stitches. Read our guide on how to determine crochet hook sizes for more details.
Yarn: The choice of yarn will determine the look and feel of your cowl scarf. Choose a yarn that is soft, durable, and suitable for the climate in which the scarf will be worn.
Scissors: A pair of sharp scissors are used to cut the yarn when you've finished your project or when you need to change colors.
Yarn Needle: This is used to weave in the loose ends of the yarn once you've completed your cowl scarf.
By understanding these crochet basics, you are now well-prepared to start your cowl scarf project. Remember, practice makes perfect. So, don't be discouraged if you don't get it right the first time. Keep practicing and you'll soon master the art of crocheting cowl scarves.
Step-by-Step Guide to Crochet a Cowl Scarf
Creating a cowl scarf through crochet can be a rewarding experience. This guide will help make the process simple and enjoyable. From selecting the perfect yarn to completing your scarf, here's how to crochet cowl scarves.
Choosing the Right Yarn
The first step in crocheting a cowl scarf is to choose the right yarn. The type of yarn you select will determine the texture, warmth, and overall look of your scarf.
For beginners, a medium-weight yarn, also known as worsted weight, could be a good choice. It's easy to handle and works up quickly.
| Yarn Type | Characteristics |
|---|---|
| Cotton | Lightweight, perfect for summer |
| Acrylic | Durable and easy to care for |
| Wool | Warm, ideal for winter scarves |
Remember, the color and style of the yarn can dramatically affect the appearance of your finished scarf, so choose a yarn that fits your personal style.
Starting Your Cowl Scarf: The Foundation Chain
The foundation chain is the first row of stitches in your cowl scarf. To start, make a slipknot on your hook, then create a chain of stitches that is the desired length of your scarf. This chain should be long enough to comfortably wrap around your neck.
Ensure that your chain is not twisted before you join the ends together to form a loop. This loop is the base of your cowl scarf, and you'll be working in rounds from this point forward.
Working on the Body of the Cowl Scarf
Now that you have your foundation chain, you can start working on the body of the scarf. You can use a variety of stitches to create different textures and patterns.
The double crochet stitch is a common choice for cowl scarves because it works up quickly and creates a warm, dense fabric. To do this stitch, yarn over your hook, insert it into the next stitch, yarn over again and pull through, yarn over and pull through two loops on your hook, then yarn over one last time and pull through the remaining two loops.
Remember to keep your tension even as you work. Uneven tension can cause your scarf to become misshapen.
Finishing Your Cowl Scarf
Once you've reached the desired width for your scarf, you can finish off your work. Cut your yarn, leaving a tail that's about six inches long. Yarn over your hook and pull through the last loop, pulling the tail all the way through.
Now, you just need to weave in your ends. Thread the tail through a yarn needle and weave it in and out of the stitches on the back of your scarf. This will hide the tail and secure your work.
Finally, try on your scarf! It should fit comfortably around your neck, not too tight and not too loose.
In this guide, we've covered the basic steps of how to crochet cowl scarves. With practice, you'll be able to experiment with different yarns, stitches, and patterns to create a variety of unique and stylish cowl scarves. For further guidance, check out our articles on how to crochet and how to crochet stitches.
Troubleshooting Common Problems
While learning how to crochet cowl scarves, you may encounter a few common issues. Here, we'll discuss how to tackle these problems, including maintaining consistent tension, correcting mistakes, and dealing with yarn ends.
Keeping Tension Consistent
Maintaining consistent tension throughout your crochet project is crucial. Inconsistent tension can lead to uneven stitches and distorted shapes, which might affect the overall look of your cowl scarf.
To maintain consistent tension:
- Ensure a firm grip on the yarn: Hold the yarn in a way that allows it to flow freely, but with some control. You can wrap the yarn around your fingers to create tension.
- Practice: Just like any other skill, maintaining tension in crochet comes with practice. The more you crochet, the more comfortable you'll become at controlling the tension.
- Relax: Avoid holding the yarn or the hook too tightly. This can lead to increased tension and may cause your hand to tire quickly.
For a more detailed guide on maintaining tension in crochet, check out our article on how to crochet for beginners.
Correcting Mistakes in Your Crocheting
Mistakes are a part of the learning process. If you've made a mistake in your crochet, don't worry! Here are some steps to correct common errors:
- Unraveling the work: If you've spotted a mistake a few rows back, the easiest way to correct it is to pull the yarn and unravel the work back to the point of error.
- Fixing an extra or missed stitch: If you've added or missed a stitch, you can either increase or decrease stitches in the next row to correct the count.
- Correcting a twisted stitch: If your stitch is twisted, you can simply remove the stitch and re-do it correctly.
For more detailed instructions on correcting mistakes, check out our article on how to crochet stitches.
Dealing with Yarn Ends
Dealing with yarn ends can be tricky, especially for beginners, but there are a few methods you can use to make the process easier:
- Weaving in ends: This involves using a yarn needle to weave the ends of the yarn back into the project. It's a good idea to weave in different directions to secure the end.
- Crocheting over ends: This method involves holding the yarn end along the row and working your stitches over it. This hides the yarn end within the stitches.
- Knotting and trimming ends: While not the neatest method, this can be used as a last resort. Make a small knot at the end of the yarn, then trim close to the knot.
For more tips on dealing with yarn ends, check out our article on how to crochet for beginners.
Remember, troubleshooting is a normal part of the crochet process, and with practice, you'll learn to tackle these common problems with ease. Happy crocheting!
Tips and Tricks for Mastering Cowl Scarf Crocheting
Once you've grasped the basics of how to crochet cowl scarves, it's time to experiment, personalize, and learn how to care for your creations.
Experimenting with Different Stitches
One of the joys of crocheting is the ability to create a variety of textures and patterns simply by using different stitches. By experimenting with various combinations, you can create unique cowl scarves that stand out.
For instance, the double crochet stitch creates a denser fabric that's great for chilly weather, while the shell stitch creates a delicate, lacy effect. The puff stitch gives a rich, textured look. For more stitch ideas, check out our step-by-step guide on how to crochet stitches.
Personalizing Your Cowl Scarf
Personalizing your cowl scarf can make it a true reflection of your style. You can add color stripes, use gradient yarn for a subtle color change, or even attach fringes or pom-poms at the ends. Incorporating different stitches in one scarf can also result in a unique look.
Another way to add a personal touch is by adjusting the size. Make it longer or shorter, wider or narrower, based on your preference. Remember, the pattern is just a guide, and it's your creativity that brings it to life.
Caring for Your Crocheted Cowl Scarf
Proper care ensures your handcrafted cowl scarves maintain their beauty and last longer. While cleaning instructions depend on the type of yarn used, most crocheted items benefit from gentle hand washing. Use cold water and a mild detergent, and avoid wringing the scarf to prevent stretching.
Lay it flat on a clean towel and roll it up to remove excess water, then reshape and allow it to air dry. For specific yarn care instructions, always refer to the yarn label.
Mastering the art of crocheting cowl scarves involves not just the technical skills, but also the ability to experiment, personalize, and take care of your creations. As you continue your crochet journey, don't forget to enjoy the process. Happy crocheting!

