Introduction to Crocheting Leg Warmers
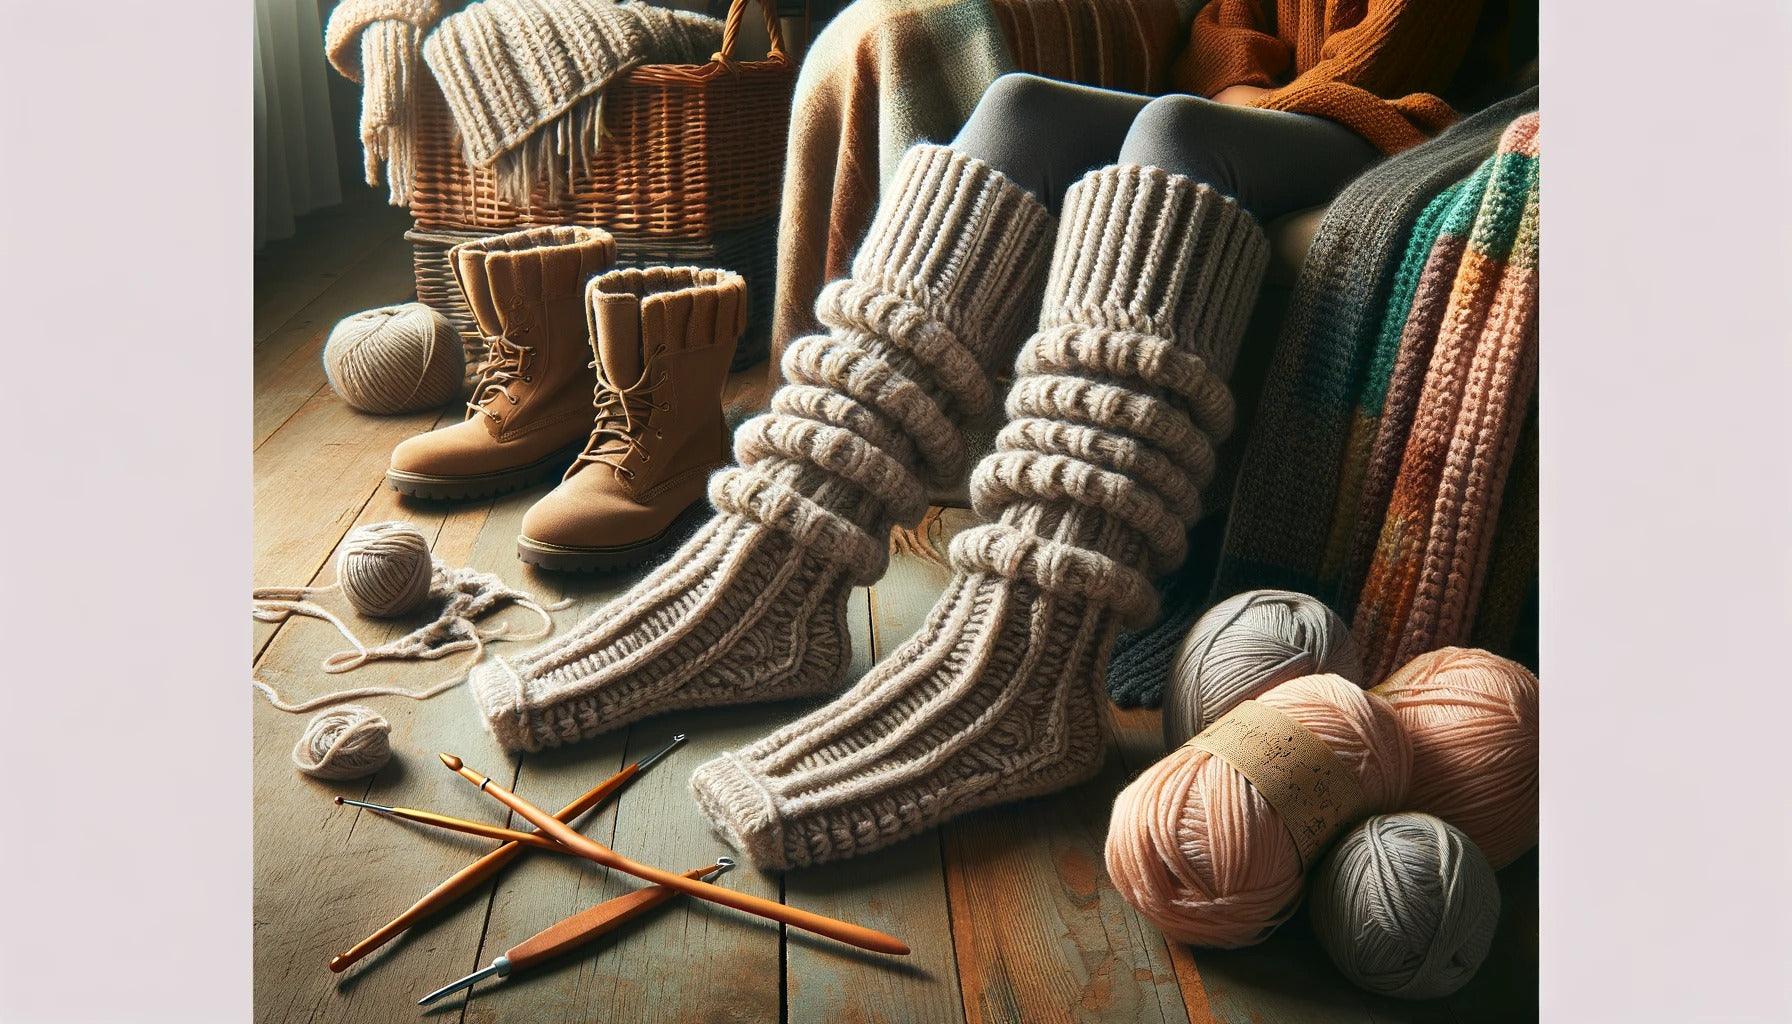
Crocheting is a versatile and rewarding craft that can be used to create a wide variety of items, from blankets to clothing. This guide focuses on how to crochet leg warmers, an accessory that's both useful and stylish.
The Basics of Crocheting
Crocheting involves using a crochet hook and yarn to create a series of interlocking loops. This craft requires learning various stitches, such as the chain stitch, slip stitch, single crochet stitch, and double crochet stitch. For more information on these basic crochet stitches, you can visit our guide on how to crochet stitches.
Before you start crocheting leg warmers, it's important to understand the basics of crocheting. This includes knowing how to hold the crochet hook, how to start a crochet project, and how to read a crochet pattern. If you're new to crocheting, you may find our guide on how to crochet for beginners helpful.
Why Crochet Leg Warmers
Leg warmers are a practical accessory, especially during the colder months. They add extra warmth and can be a fashionable addition to your outfit. Crocheting your own leg warmers allows you to customize them to your preferred color, yarn type, and size, making them a unique reflection of your style.
Learning how to crochet leg warmers also offers an opportunity to practice and enhance your crocheting skills. This project involves working in the round, a technique commonly used in crocheting hats, socks, and amigurumi. As you gain confidence in crocheting leg warmers, you can explore more complex patterns and techniques, expanding your crocheting repertoire.
Crocheting leg warmers can be a relaxing and satisfying activity. Seeing your project take shape as you work each row is part of the joy of crocheting. Whether you're crocheting leg warmers for yourself or as a gift for someone else, this guide will help you navigate the process. So, grab your crochet hook and let's get started!
Gathering Your Materials
Before you start your project on how to crochet leg warmers, it's essential to gather all necessary materials to ensure a smooth and productive process. The main materials required for this project are yarn, a crochet hook, and some other basic tools.
Yarn Selection
The choice of yarn plays a significant role in the outcome of your leg warmers. The type of yarn you choose will determine the texture, appearance, and warmth of the finished product. For leg warmers, consider using medium-weight yarn (also known as worsted weight yarn). This type of yarn is thick enough to provide warmth, yet thin enough to allow for intricate crochet stitches.
When selecting the color of your yarn, consider your wardrobe and what would complement it best. You might also want to choose a yarn that's easy to care for and durable, as leg warmers are likely to get a lot of wear during the colder months.
Choosing the Right Crochet Hook
Selecting an appropriate crochet hook is just as important as choosing the right yarn. The size of the hook you select will impact the size of your stitches and, ultimately, the fit of your leg warmers. Generally, a medium-sized hook (around 5mm to 6mm) should work well with worsted weight yarn.
Remember that everyone's tension when crocheting can vary – some crochet tightly, others more loosely. This can affect the size of your stitches. Therefore, you may need to adjust your hook size to achieve the correct gauge for your project. Our guide on how to determine crochet hook sizes can provide further guidance.
Other Essential Tools
In addition to yarn and a crochet hook, you will also need a few other tools to complete your leg warmers:
- Tape measure: This is crucial for ensuring the right fit of your leg warmers. You'll use it to measure your leg's circumference and length and to check the size of your work as you progress.
- Scissors: You'll need a good pair of scissors to cut the yarn when you finish your project or need to change colors.
- Yarn needle: This is used to weave in loose ends of yarn once you've finished your project.
With your materials gathered, you're now ready to start your journey on how to crochet leg warmers. The next step will be understanding the pattern and beginning the crocheting process. Happy crocheting!
Understanding the Pattern
When learning how to crochet leg warmers, understanding the pattern is a crucial part of the process.
Reading Crochet Patterns
Crochet patterns may seem like a foreign language if you're new to crocheting. However, once you understand the basic elements, they become a useful guide to completing your project.
Patterns generally list the materials needed, including the type and quantity of yarn, crochet hook size, and other necessary tools. They also include a series of abbreviations representing the various crochet stitches you'll need to use. For example, 'ch' stands for chain stitch, 'sc' for single crochet, and 'dc' for double crochet. These abbreviations form the instructions you'll need to follow to create your crochet piece. If you need a refresher on these stitches, check out our article on how to crochet stitches.
Most patterns also provide details on gauge or tension, which is the number of stitches and rows in a specified measurement. Achieving the correct gauge is important to ensure your finished project is the right size.
Specifics for Leg Warmer Patterns
When crocheting leg warmers, the pattern will usually start with a foundation chain, which should be long enough to fit comfortably around the widest part of your calf. The pattern will then guide you to work in rounds or rows to create the tube-like shape of the leg warmer.
One of the key aspects of a leg warmer pattern is the ribbing. Ribbing is usually worked at the top and bottom of the leg warmer to provide a snug fit around the ankle and just below the knee. This is typically done using front post and back post double crochet stitches.
Another unique aspect of a leg warmer pattern is the opportunity for customization. Depending on the pattern, you may have the option to adjust the length of the leg warmers, add stripes or other colorwork, or incorporate different stitch patterns for texture.
Here's an example of what a leg warmer pattern may look like:
Materials:
- Medium-weight yarn
- 5.0mm crochet hook

Abbreviations:
- ch: chain
- sc: single crochet
- dc: double crochet
- fpdc: front post double crochet
- bpdc: back post double crochet

Pattern:
1. Ch 40, sl st to first ch to form a ring.
2. Round 1: Ch 3 (counts as first dc), dc in each ch around, sl st to top of ch 3 to join.
3. Round 2: Ch 2, *fpdc in next dc, bpdc in next dc*, repeat * to * around, sl st to top of ch 2 to join.
4. Repeat Round 2 until leg warmer reaches desired length.
5. Fasten off.
Remember to always read through the entire pattern before you begin your project. This will give you a clear understanding of the steps involved and allow you to anticipate any tricky elements. If you're new to crochet, you might find our article on how to crochet for beginners helpful.
The Crocheting Process
Now that we've covered the materials and patterns, let's dive into the actual process of crocheting leg warmers. This section will guide you through the initial steps, key techniques, and finally, how to complete your project.
Starting Your Leg Warmers
The first step in crocheting leg warmers is creating a foundation chain. The length of this chain should correspond to the circumference of the wearer's leg where the leg warmer will sit. This could be the calf, just below the knee, or above the knee, depending on the desired length of the leg warmer.
Once you have your foundation chain, join the chain into a ring using a slip stitch. This forms the base from where you build the rest of your leg warmer. Always make sure the chain is not twisted before joining, as this could distort your final product.
Key Techniques for Crocheting Leg Warmers
The most common stitch used for crocheting leg warmers is the double crochet stitch. This stitch creates a dense yet flexible fabric that is ideal for the stretch and movement needed in leg warmers. To learn more about this stitch, refer to our how to crochet stitches guide.
In a typical leg warmer pattern, you would work in rounds, building up from your foundation chain. Each round is usually joined with a slip stitch and started with chain stitches that act as the first double crochet of the new round.
To add texture or detail to your leg warmers, you can incorporate different stitches such as the single crochet, half double crochet, or even some decorative stitches.
Continuation and Completion of Your Project
As you continue working in rounds, periodically try the leg warmer on to ensure a proper fit. Remember, crochet fabric will stretch slightly, so aim for a snug fit.
Once you reach the desired length, you can finish your leg warmer with a neat edge. This can be done with a simple round of single crochet stitches. After this, cut your yarn, leaving a tail long enough to weave in with a yarn needle.
Repeat the entire process for the second leg warmer. Be sure to count your rounds and stitches to ensure both leg warmers are the same size.
The journey of learning how to crochet leg warmers doesn't stop here. As you gain confidence, try experimenting with different stitch patterns, colors, and even yarn types. The possibilities are endless in the world of crochet, and each project helps you grow as a crochet artist. Be sure to check out our other guides to continue honing your skills, such as how to crochet wrist warmers and how to crochet socks for beginners.
Tips and Tricks for Crocheting Leg Warmers
As you progress in learning how to crochet leg warmers, there are several tips and tricks that can help you perfect your craft. These range from ensuring the right fit to enhancing your design, and taking proper care of your crocheted leg warmers.
Ensuring the Right Fit
Achieving the right fit is crucial when crocheting leg warmers. To do this, it's important to take accurate measurements of the wearer’s calf and ankle before starting the project. As a guideline, you can use the following table:
| Measurement | S/M (in inches) | L/XL (in inches) |
|---|---|---|
| Calf Circumference | 13-15 | 16-18 |
| Ankle Circumference | 8-10 | 11-13 |
When measuring, make sure that the tape is snug but not tight. Remember, the elasticity of the yarn and the chosen stitch will also have a significant impact on the fit.
Enhancing Your Design
There are numerous ways to enhance the design of your leg warmers, from choosing a vibrant color yarn to incorporating intricate stitch patterns. You could even add decorative elements such as pom-poms, fringes, or buttons.
An important aspect of design enhancement is the choice of stitch. Different stitches not only give a unique look to the leg warmers but also contribute to their comfort and fit. Some popular stitches for leg warmers include the half double crochet, double crochet, and the puff stitch. To learn more about these stitches, refer to our article on how to crochet stitches.
Caring for Your Crocheted Leg Warmers
Proper care helps ensure your crocheted leg warmers last longer and retain their shape and color. It’s generally recommended to hand wash crocheted items in cold water using a gentle soap. Lay them flat to dry to prevent stretching or distortion.
Be sure to check the yarn label for specific care instructions. Some yarns may be machine washable, while others may require special care.
Remember, learning to crochet involves practice, patience, and creativity. These tips and tricks should help you on your journey. We have a variety of resources for beginners to intermediate crocheters on different projects like how to crochet socks, how to crochet wrist warmers, and more. Happy crocheting!

