The Basics of Crocheting Ponchos
Before delving into how to crochet ponchos, it's important to fully understand what a poncho is, and why it's a worthwhile project to take on.
What is a Poncho?
A poncho is a simple garment designed to keep the body warm, or to add a stylish layer to an outfit. It's typically a single large sheet of fabric with an opening in the center for the head, and it often drapes over the shoulders. Ponchos are versatile and can be crafted with varying designs, colors, and materials to suit different styles and preferences.
Why Choose to Crochet a Poncho?
Crocheting a poncho can be a rewarding endeavor for several reasons. Firstly, it's a project that's suitable for beginners, yet also offers ample room for more advanced techniques. This makes it a fantastic project for those learning how to crochet, and those looking to challenge themselves with more complex patterns and stitches.
Secondly, ponchos can be adjusted to fit various body sizes, making them a practical choice for gifts or personal use. They also require no tailoring, as the loose, flowy design is meant to fit comfortably over the torso.
Lastly, crocheting a poncho allows for creativity and personalization. From selecting the yarn color and type to deciding on the pattern and adding embellishments, every decision you make contributes to creating a unique piece.
Whether you're a beginner looking to tackle a new project, or an experienced crocheter seeking to create a stylish and practical garment, a poncho is a great choice. Now that you understand the basics, you're ready to explore the world of crocheting ponchos. Stay tuned as we delve deeper into the tools, techniques, and tips needed to crochet your own poncho.
Getting Started with Poncho Crocheting
Before embarking on the journey of crocheting a poncho, it is crucial to equip yourself with the necessary tools and materials. Understanding the basic stitches is also pivotal for those who wish to learn how to crochet ponchos.
Essential Tools and Materials
The fundamental tools and materials required for crocheting a poncho include:
- Crochet hooks: The size of the hook needed will depend on the yarn weight and the pattern requirements. To learn more about selecting the correct hook size, check out our article on how to determine crochet hook sizes.
- Yarn: The type of yarn used can greatly influence the texture and appearance of the poncho. Yarns with different weights and fibers are available, each providing a unique effect.
- Stitch markers: These are helpful for marking specific points in your pattern, such as the beginning of a row.
- Yarn needle: This is used for weaving in ends once the project is completed.
It's important to remember that the quality of your tools and materials can significantly affect the final outcome of your project. Ensure to choose items that are comfortable to use and suitable for your chosen pattern.
Understanding Basic Crochet Stitches
If you're new to crocheting, understanding the basic stitches is the first step in learning how to crochet ponchos. Here are some fundamental stitches that are often used in poncho patterns:
- Chain Stitch (ch): This is the most basic crochet stitch and forms the foundation of most patterns.
- Single Crochet (sc): This stitch provides a tight, dense fabric.
- Double Crochet (dc): This stitch is twice as tall as the single crochet and creates a softer, more flexible fabric.
- Treble Crochet (tr): This stitch is taller than the double crochet and adds a loose and drapey texture to the fabric.
Each of these stitches brings a different aspect to the texture and appearance of the poncho. By mastering these basics, you can start to experiment with more complex patterns and techniques. If you're a beginner, our how to crochet stitches guide can be an excellent resource to get started.
Remember, practicing these stitches and getting comfortable with the crochet hooks is key to a successful crochet project. Take your time, be patient with yourself, and enjoy the process of learning and creating.
Key Techniques for Crocheting Ponchos
Crafting a poncho involves mastering several key crochet techniques. This section will discuss three main techniques: how to create the neckline, how to shape the poncho, and how to add a border or fringe.
Creating the Neckline
The neckline is a critical element of a poncho, serving as the starting point for a project. It's generally worked in the round, with increases added in each round to create the desired width.
To start, make a chain that is long enough to fit comfortably around your neck. Join the ends of the chain with a slip stitch to create a circle. Then, using double crochet or treble crochet stitches, work your first round. Increase the number of stitches in each subsequent round until the neckline reaches your desired size.
Remember, the size of your neckline will directly influence the overall fit and look of your poncho. It's worth taking the time to get this step right. For a step-by-step guide on how to crochet, check out our article on how to crochet for beginners.
Shaping the Poncho
Shaping the poncho involves gradually increasing the number of stitches in each round to create a wide, draped effect. You can achieve this by incorporating increase stitches in your pattern at regular intervals.
One common method is to add an extra stitch at the beginning and end of each row, or at each corner if you're working in the round. This creates a 'triangle' shape, which forms the basis of the classic poncho style.
Remember, the trick to a well-shaped poncho lies in consistent increasing. Be sure to count your stitches after each round to ensure you're on track.
Adding a Border or Fringe
Adding a border or fringe to your poncho can give it a polished and stylish finish. Crocheted borders can range from simple single crochet stitches to elaborate lace patterns. It's all about personal preference and the look you're going for.
To add a fringe, cut several lengths of yarn and attach them to the edge of your poncho using a hook and a simple knot. You can make your fringe as thick or as sparse as you like, and trim it to your desired length.
Whether you opt for a border or a fringe, this final touch can make a significant difference in the overall look of your poncho. For more inspiration on different border and fringe styles, check out our article on how to crochet patterns for blankets.
Mastering these key techniques is the first step in learning how to crochet ponchos. With practice, you'll be able to create a range of ponchos in different styles and patterns, adding a unique touch to your crochet repertoire.
How to Crochet Different Styles of Ponchos
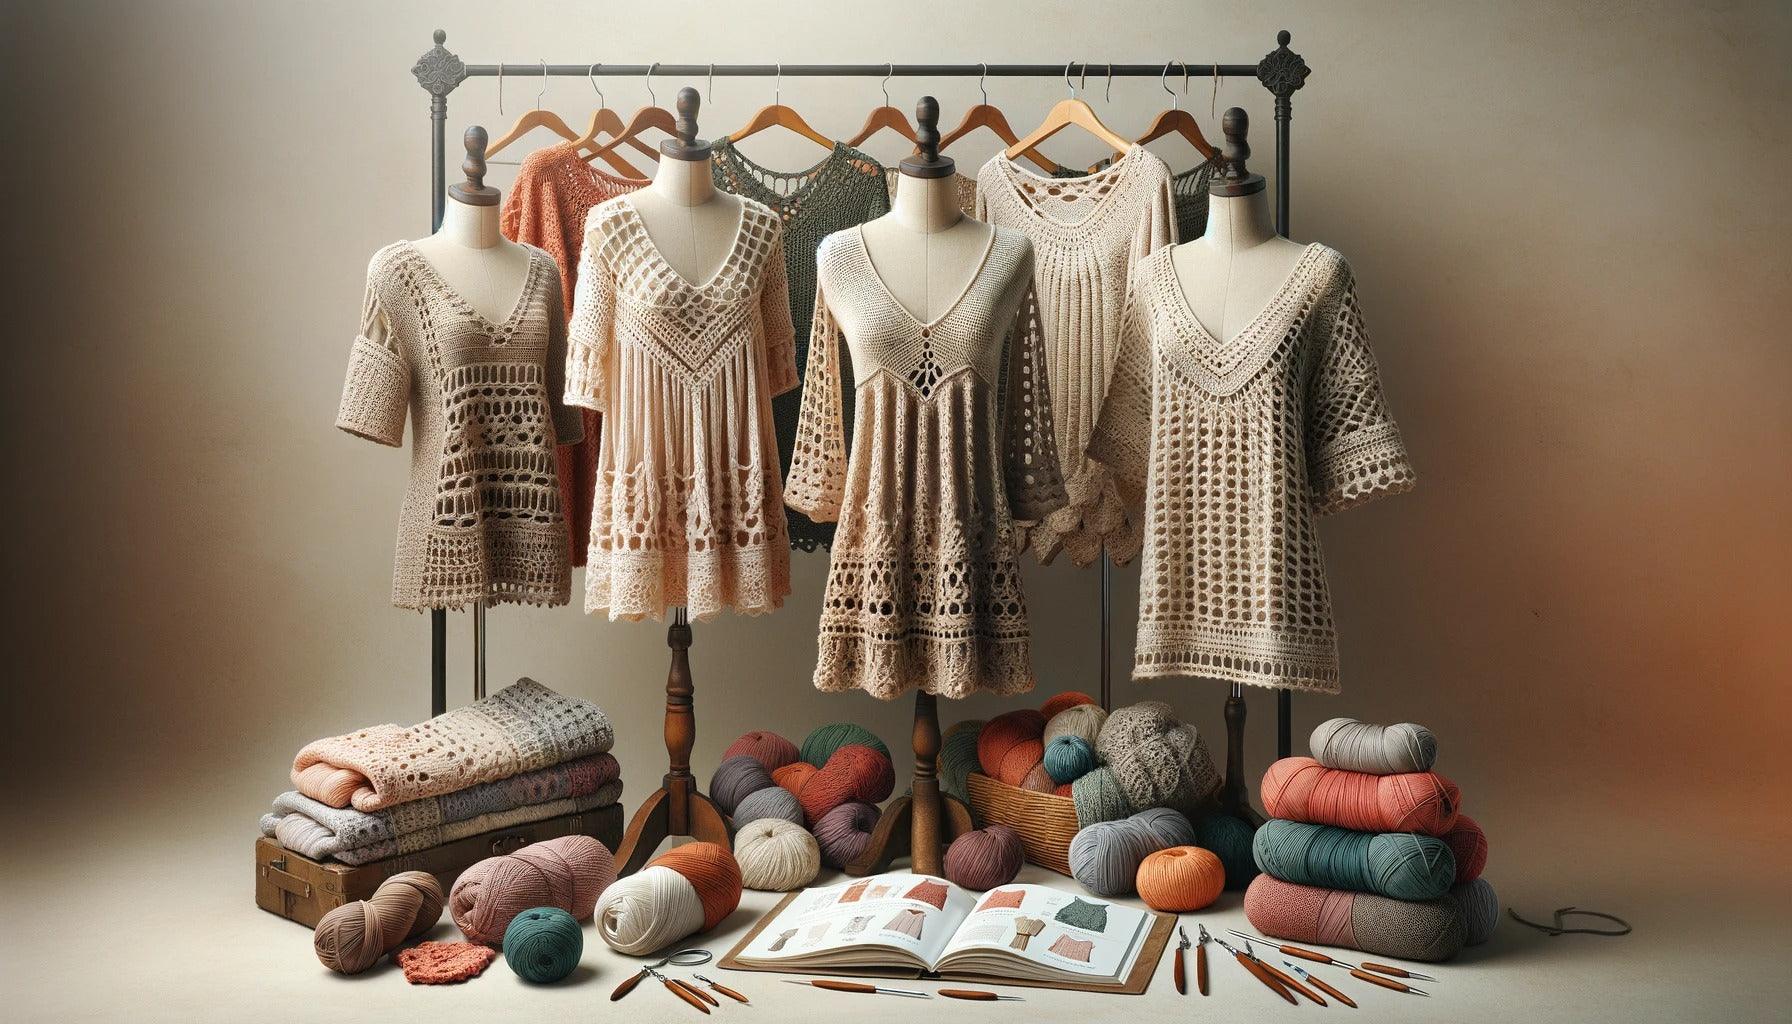
Crafting a poncho with your own hands can be a rewarding experience. Understanding how to crochet ponchos in various styles allows you to create a wardrobe that is both versatile and unique. In this section, we explore the techniques used to crochet three popular poncho styles: classic, asymmetrical, and cowl neck.
Classic Poncho Style
The classic poncho style is typically rectangular or square in shape and is one of the easiest styles to crochet. It consists of two pieces of fabric stitched together, leaving space for the neck. The pattern is often simple, allowing beginners to practice basic crochet stitches and techniques.
To crochet a classic poncho, start by understanding the basic dimensions. The width of each piece should be half the desired circumference of the poncho, while the length can vary depending on personal preference. Choose a simple stitch pattern, such as the double crochet or treble crochet, and work until you reach the desired length. Repeat for the second piece, then stitch the two pieces together, ensuring to leave space for the neck.
Asymmetrical Poncho Style
An asymmetrical poncho, as the name suggests, features a design that is not symmetrical. This style is modern and chic, and it often drapes to one side. The asymmetrical poncho can be crocheted as one piece starting from the neckline, expanding outward with increases on one edge.
To crochet an asymmetrical poncho, start with a chain stitch that fits comfortably around the neck. Then, work in rounds, adding increases to one side to create the asymmetrical shape. The stitch pattern can vary, and it's an opportunity to experiment with more complex stitches and techniques.
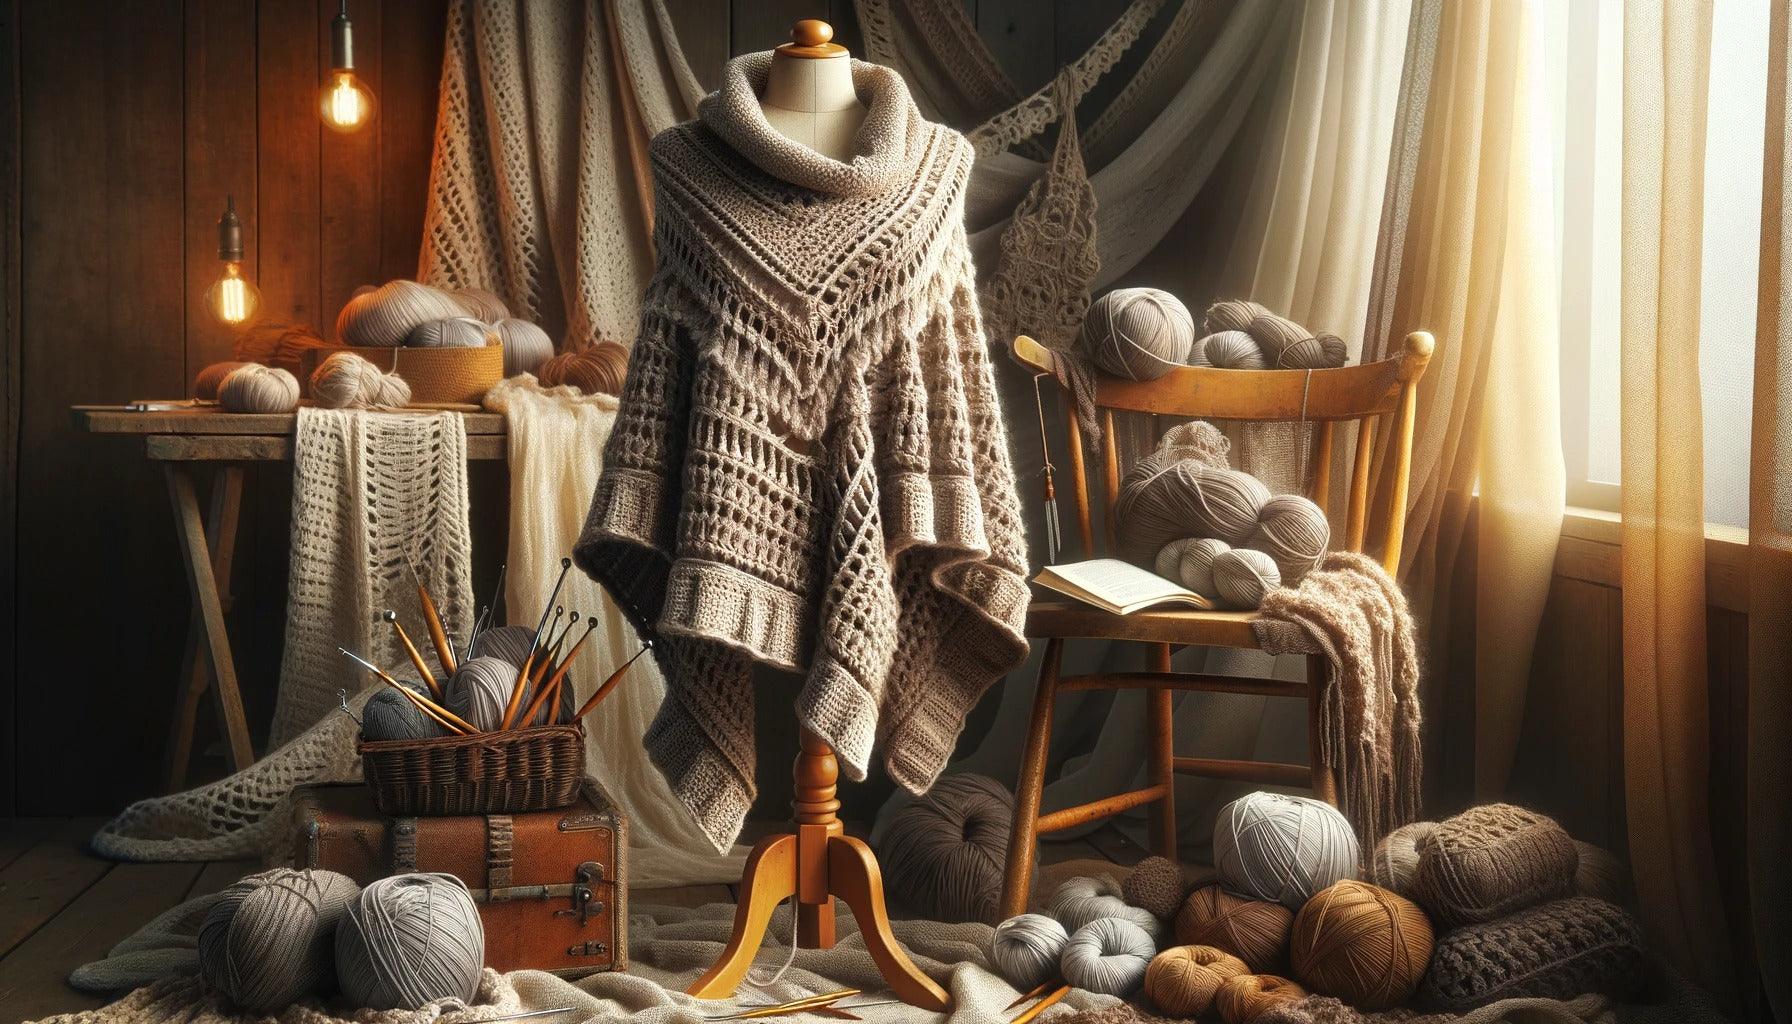
Cowl Neck Poncho Style
The cowl neck poncho style is cozy and stylish. This design features a loose, flowing poncho body with a snug cowl neck. Like the classic poncho, this style can be crocheted as two rectangles stitched together, with additional rounds added to the neckline to create the cowl.
To crochet a cowl neck poncho, start by crocheting two rectangles as you would for the classic style. Once you've stitched the rectangles together, pick up stitches around the neckline and work in rounds to create the cowl. You can adjust the height of the cowl by varying the number of rounds you crochet.
Whether you're a beginner just learning how to crochet, or an experienced crocheter looking for a new challenge, these three styles offer a range of options to suit your skill level and fashion preferences. With practice and creativity, you can craft stylish ponchos that showcase your crochet skills and personal style.
Tips for Crocheting Stylish Ponchos
Creating a stylish poncho isn't just about mastering the techniques. It’s also about making the right choices when it comes to choosing yarn, experimenting with patterns, and adding the final touches for a professional look.
Choosing the Right Yarn
The type of yarn you choose can significantly impact the outcome of your poncho. When selecting the yarn, consider the texture, weight, and drape. For example, a lightweight yarn like cotton or bamboo creates a fluid drape ideal for spring or summer ponchos. In contrast, a heavier yarn like wool or acrylic offers warmth and structure, perfect for cozy, winter ponchos.
The color of the yarn also plays a crucial role in the final look of the poncho. Choose a color that complements your wardrobe and matches the season you plan to wear it in.
Experimenting with Patterns and Colors
Experimenting with different patterns and colors can elevate the design of your poncho. Consider incorporating stripes, color blocks, or intricate stitch patterns to add visual interest. Don't be afraid to use vibrant colors or gradient yarns for a unique touch.
Try blending several techniques you've learned in your crochet journey. For example, you could use a simple stitch for the main body of the poncho and an intricate lace pattern for the border. This mix and match approach lets you create a piece that is truly your own.
Finishing Touches for A Professional Look
The finishing touches can make a significant difference in the overall appearance of your poncho. Consider adding a fringe or tassels to the edges for a boho-chic look. Alternatively, you could add a collar or a cowl neck for added warmth and style.
Proper blocking is also essential for a professional finish. This process helps shape the poncho and makes stitch patterns more noticeable. Finally, weave in all loose ends neatly to ensure your work looks clean and polished.
In conclusion, creating a stylish poncho involves more than just learning how to crochet ponchos. It requires creativity, attention to detail, and the courage to experiment with different elements. With these tips, you're well on your way to crafting a poncho that you'll be proud to show off. Whether you're a beginner or an experienced crocheter, continue to explore and learn, as the world of crochet offers endless possibilities.