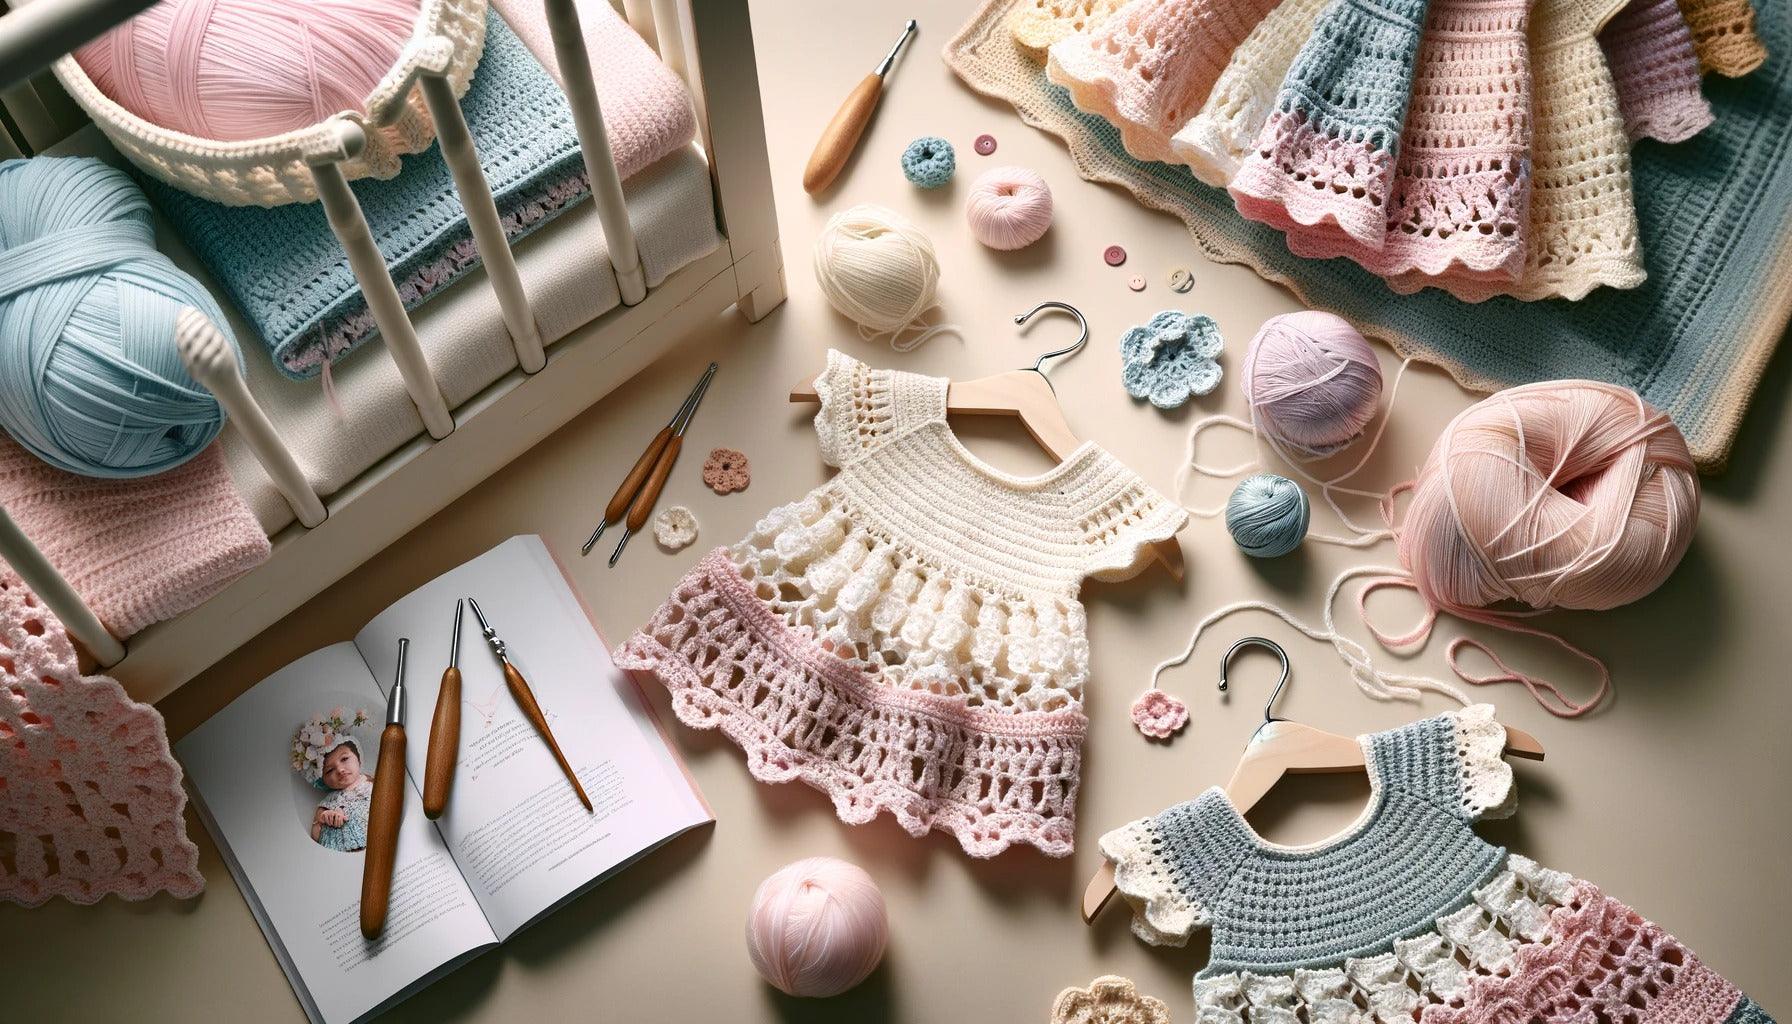
Introduction to Crocheting Sweater Vests
The art of crocheting is versatile and expansive, allowing you to create everything from intricate doilies to cozy blankets. One popular project for those who enjoy this craft is learning how to crochet sweater vests.
Why Sweater Vests are a Crochet Must-Have
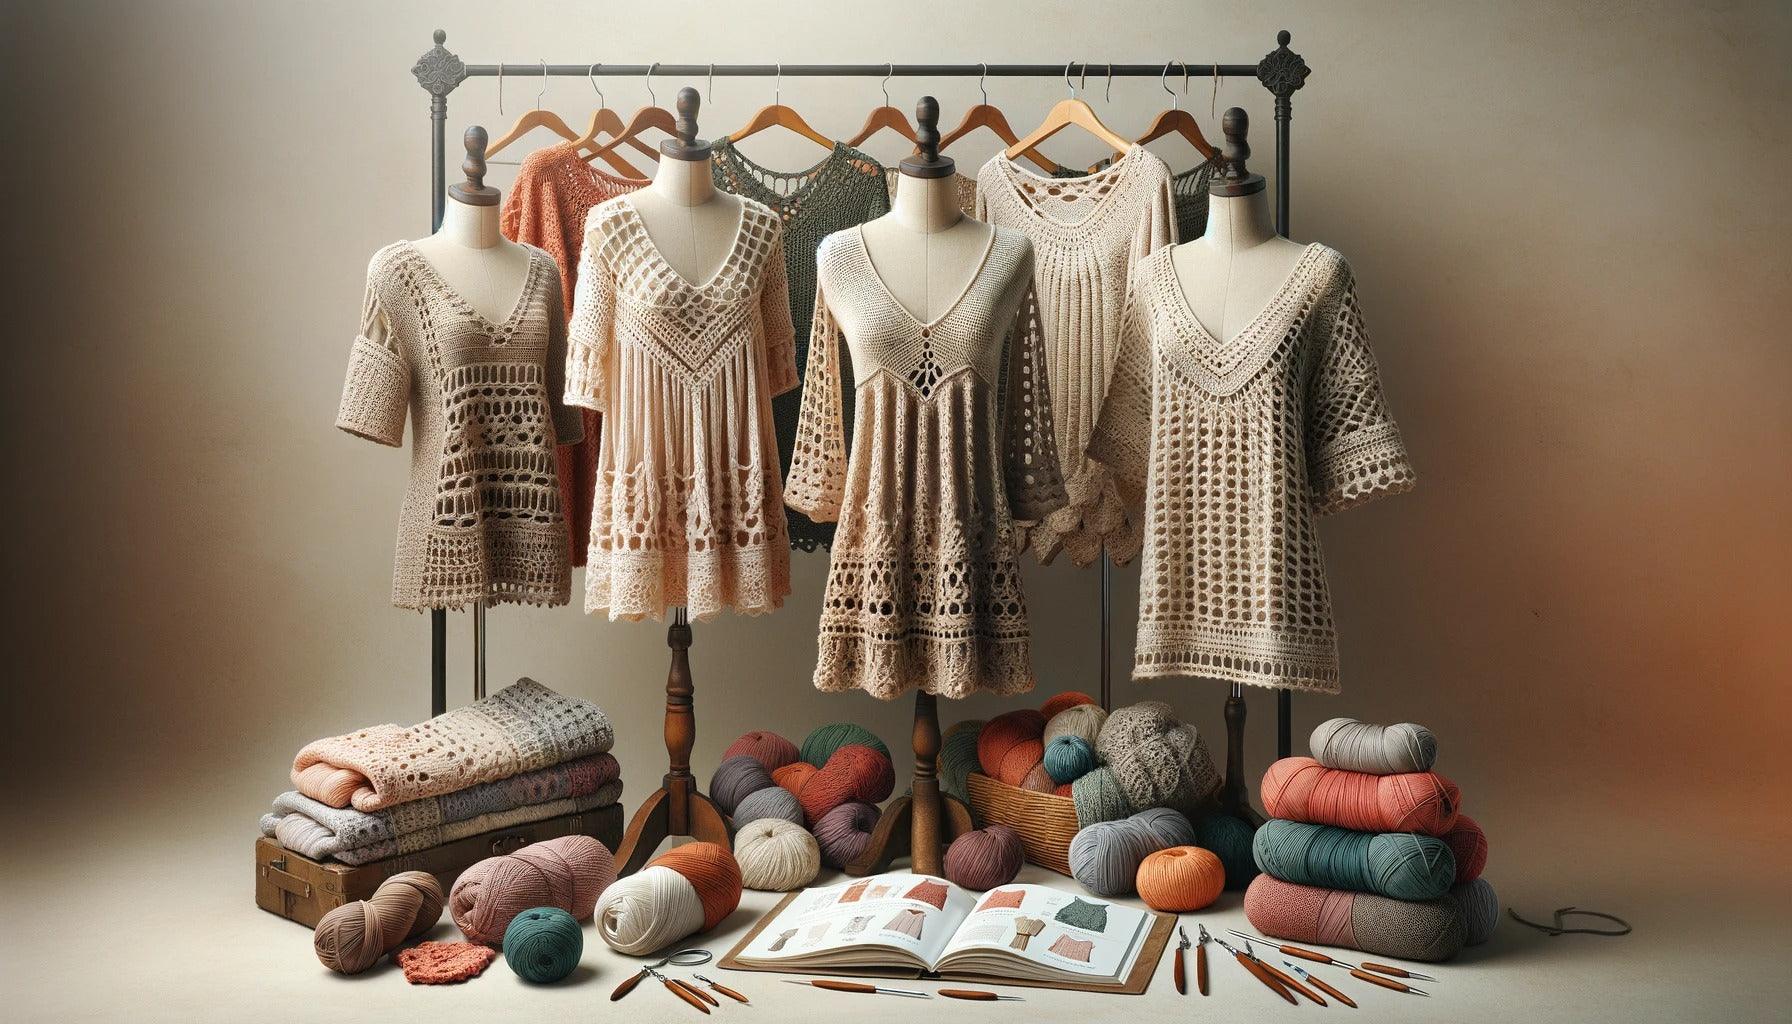
Sweater vests are a trendy wardrobe staple that can add style and warmth to any outfit. By mastering the technique of crocheting sweater vests, you can create custom pieces that fit your personal style and body shape perfectly. Plus, they make wonderful gifts for family and friends.
Crocheting your own sweater vests also allows you to choose the colors and textures that you love most. You can decide whether to make a simple, monochrome vest or to get creative with patterns and color combinations. With the ability to customize every aspect of the vest, you'll own a truly unique piece of clothing.
Understanding the Basics of Crocheting a Sweater Vest
Crocheting a sweater vest involves a few basic steps. First, you'll need to familiarize yourself with the necessary stitches and techniques. For beginners, knowing simple stitches such as the chain stitch, single crochet, and double crochet is usually sufficient to start. You can learn more about these stitches in our article on how to crochet stitches.
Next, you'll need to take accurate body measurements to ensure a good fit for your vest. This includes the width of the chest, the desired length of the vest, and the width of the shoulders. It's also helpful to decide in advance whether you want your vest to have a close fit, or if you'd prefer it to be loose and relaxed.
The actual process of crocheting a sweater vest typically involves creating two rectangular panels - one for the front and one for the back. These panels are then joined together, leaving openings for the arms and neck. Depending on the design, you might also add edging or other decorative features.
Remember, crocheting is a skill that improves with practice. Don't be discouraged if your first few attempts don't turn out perfect. Keep trying, and don't hesitate to unravel your work and start over if something doesn't look right. As you gain experience, you'll become more confident in your ability to crochet sweater vests and other projects. For more guidelines and tutorials suitable for beginners, be sure to check out our article on how to crochet for beginners.
Preparing to Crochet a Sweater Vest
Before embarking on your how to crochet sweater vests journey, it's crucial to properly prepare. This involves choosing your yarn and hook, taking measurements for a perfect fit, and creating a swatch.
Choosing Your Yarn and Hook
The first step in your preparation is selecting the right yarn and hook for your project. Wool and wool blends are popular choices for sweater vests due to their warmth and structure. However, cotton or acrylic yarns can also be suitable for a lighter, more casual vest.
When it comes to crochet hooks, the size will depend on the yarn weight and the pattern requirements. As a general rule, a medium weight yarn pairs well with a size H-8 (5 mm) hook, but this can vary so always check the yarn label for recommendations. For more information on this, you can refer to our article on how to determine crochet hook sizes.
Measuring for a Perfect Fit
To ensure your crocheted vest fits perfectly, you'll need to take some measurements. These typically include the bust, waist, and hip measurements, as well as the desired length of the vest. These measurements will guide the number of chains to start with and how many rows to crochet.
Remember, crochet has some stretch, so your finished garment will have a bit of give. Always refer to your pattern for specific measuring instructions and sizing guidelines.
| Measurement | Inches |
|---|---|
| Bust | 34-36 |
| Waist | 26-28 |
| Hip | 36-38 |
| Length | 22-24 |
Creating a Swatch
Before you dive into crocheting your vest, it's a good idea to create a swatch. This is a small square of fabric that you crochet using the stitch pattern indicated in your vest pattern.
The purpose of a swatch is to determine your gauge, which is the number of stitches and rows per inch. Matching the gauge specified in your pattern is vital for ensuring your finished vest is the right size.
A typical swatch might be 4 inches by 4 inches. Once you've crocheted your swatch, lay it flat and count the number of stitches across and rows down within one inch. If your numbers match the pattern's gauge, you're ready to start crocheting your vest. If not, you may need to adjust your hook size or tension and try again.
Now that you've chosen your yarn and hook, taken your measurements, and created a swatch, you're ready to delve into the process of how to crochet sweater vests. Each of these preparation steps is crucial in ensuring the success of your project and will contribute to the creation of a well-fitted, stylish sweater vest.
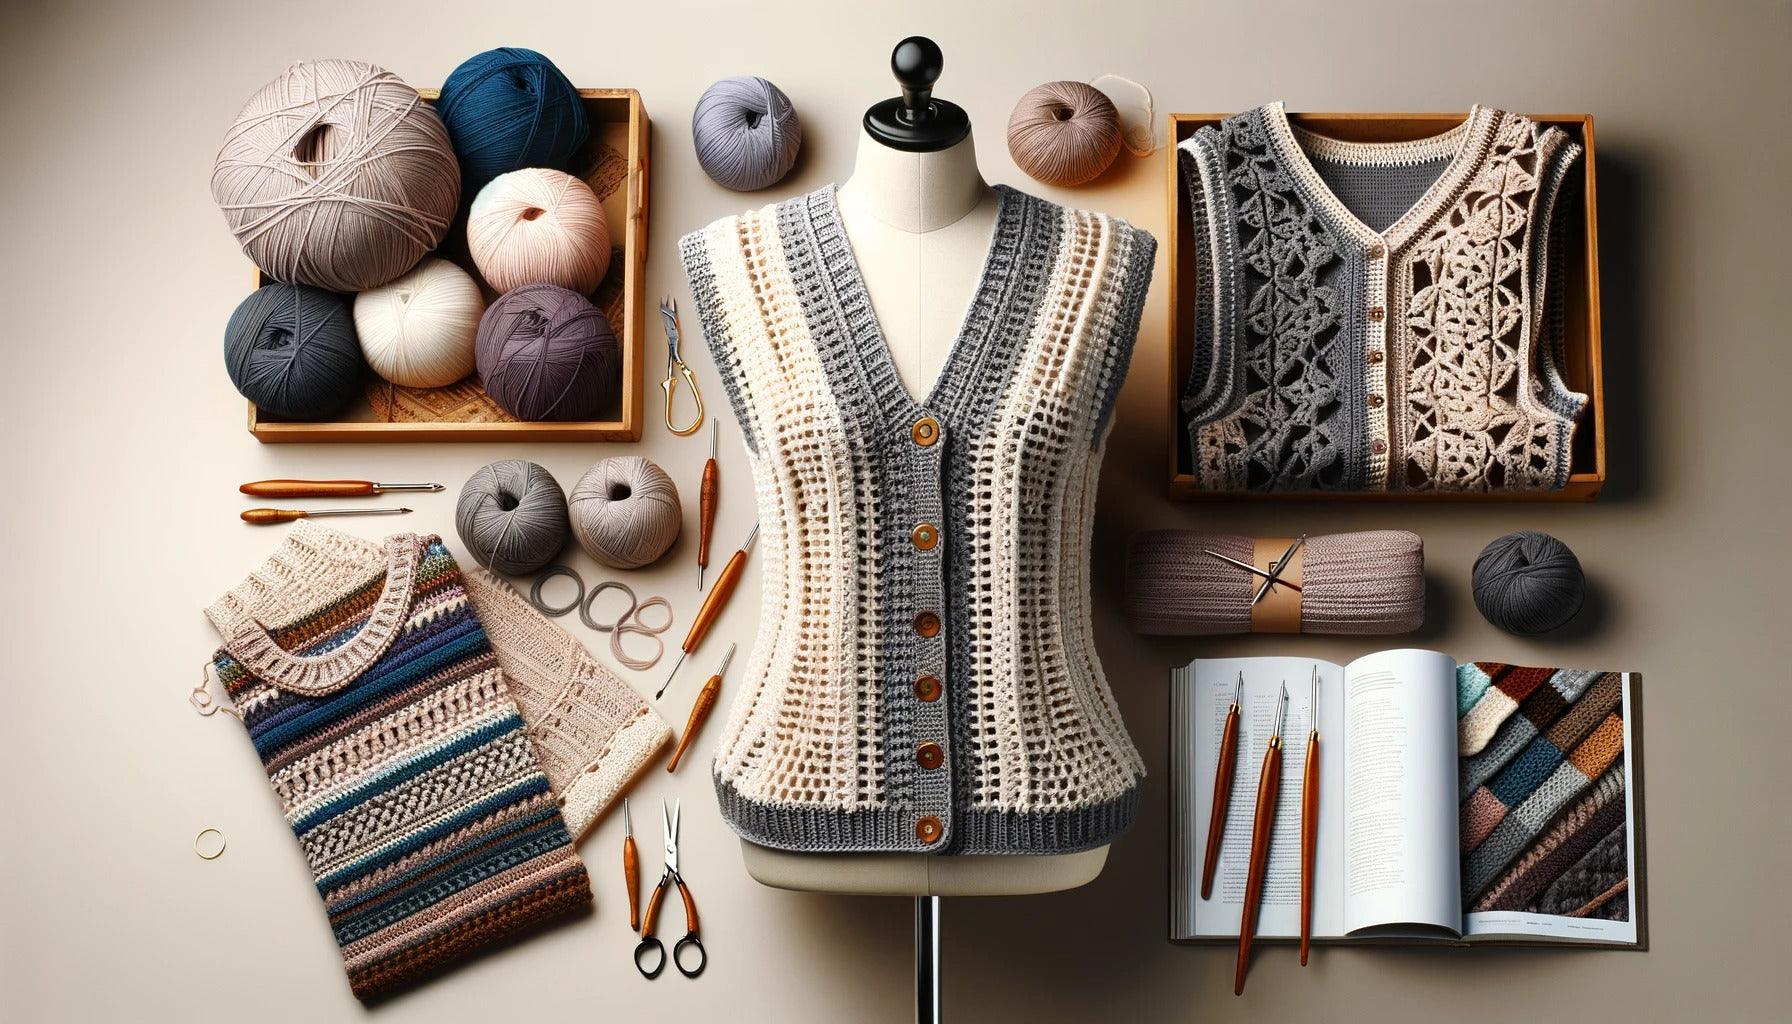
Basic Techniques for Crocheting Sweater Vests
Crafting a stylish sweater vest through crochet involves mastering some basic techniques. Essential aspects include understanding stitch patterns commonly used in sweater vests, learning how to crochet the front and back panels, and knowing how to join these panels and finish the edges.
Stitch Patterns Commonly Used in Sweater Vests
The beauty of handmade sweater vests is the variety of stitch patterns that can be used. Some popular stitch patterns in crocheting sweater vests include single crochet, double crochet, half-double crochet, and treble crochet. You can also experiment with more intricate stitches like the shell stitch, V-stitch, or cable stitch to add texture and detail to your vest. For a refresher on these stitches, visit our guide on how to crochet stitches.
| Stitch | Difficulty Level |
|---|---|
| Single Crochet | Beginner |
| Double Crochet | Beginner |
| Half-Double Crochet | Beginner |
| Treble Crochet | Intermediate |
| Shell Stitch | Intermediate |
| V-Stitch | Intermediate |
| Cable Stitch | Advanced |
How to Crochet the Front and Back Panels
The main body of a sweater vest consists of two panels: the front and the back.
Front Panel: Start by making a foundation chain that reaches from one side of the chest to the other. Then, work in rows using your chosen stitch pattern until you reach the desired length.
Back Panel: The back panel is worked in the same way as the front panel. However, it's typically a bit longer than the front panel to provide a comfortable fit.
Remember to count your stitches at the end of each row to ensure they remain consistent. This will help keep the shape of your vest uniform. For more detailed instructions, refer to our article on how to crochet.
Joining Panels and Finishing Edges
Once the front and back panels are completed, they need to be joined together to form the vest. This is typically done by sewing the side and shoulder seams together with a yarn needle. However, you can also use crochet stitches like slip stitch or single crochet to join the panels if you prefer.
After joining the panels, finish the armholes and neckline by working a round of single crochet stitches. This not only gives a neat finish but also helps to prevent the edges from stretching out of shape.
Take note that the joining and finishing techniques may vary depending on the design and pattern of the vest. Hence, always refer to the pattern instructions for the best results.
Mastering these basic techniques is the first step in learning how to crochet sweater vests. As you become more comfortable, you can experiment with different stitch patterns, colors, and decorative elements to create a truly unique piece.
Intermediate Techniques for Stylish Vests
Once you've mastered the basic techniques of how to crochet sweater vests, it's time to explore some intermediate techniques that can add extra style and flair to your creations. From creating a ribbed effect to incorporating color blocking and adding embellishments, these techniques will elevate your sweater vest designs to a new level.
Creating a Ribbed Effect
The ribbed effect is a popular technique that adds texture and visual interest to your crochet projects. It's achieved by alternating between front post and back post double crochet stitches. This method creates raised rows that resemble the look of knitted ribbing. A ribbed sweater vest is not only stylish but also provides extra warmth due to the thick texture of the ribbing. Remember, mastering this technique might require some practice, so be patient with yourself as you learn. Our articles on how to crochet stitches can provide further guidance on this technique.
Incorporating Color Blocking
Color blocking is a fantastic way to add a modern touch to your crochet sweater vests. This technique involves crocheting sections or "blocks" of color into your design. The color blocks can be large or small, uniform or varied in size, depending on the look you want to achieve. This method allows for a lot of creativity, as you can experiment with different color combinations and patterns. For more on this technique, check out our articles on how to crochet.
Adding Pockets or Other Embellishments
Pockets or other embellishments can be a practical and stylish addition to your crochet sweater vests. Crocheted pockets can be added to the front of the vest and are handy for carrying small items. You can also consider adding other embellishments, such as crochet flowers or decorative edging, to personalize your design. Remember, when adding pockets or embellishments, ensure they are securely attached to maintain the durability and functionality of your vest. Visit our articles on how to crochet flowers and other embellishments for more ideas.
By incorporating these intermediate techniques, you can create unique and stylish sweater vests that truly reflect your personal style. Remember, the most important aspect of crocheting is to enjoy the process and take pride in your handmade creations. So be bold, experiment with different techniques, and create a crochet sweater vest that you'll love to wear.
Care for Your Crocheted Sweater Vest
After investing time and effort into learning how to crochet sweater vests, it's crucial to know how to properly care for them to extend their longevity.
Washing and Drying Your Vest
It's essential to wash and dry your crocheted sweater vest carefully to prevent damage to the yarn and maintain the quality of your work. The washing method largely depends on the type of yarn used. Most yarn labels provide washing instructions, but a general rule of thumb is to hand wash your vest in cold water with a mild detergent.
Avoid wringing the vest to dry. Rather, gently squeeze out excess water and lay it flat on a dry towel. Rolling the vest within the towel can also aid in removing additional moisture. Allow the vest to air dry completely before storing or wearing it.
Remember that heat can cause shrinkage or distortion in crocheted items, so avoid using a dryer unless the yarn label specifically allows it.
Storing Your Vest to Maintain Shape
Proper storage of your crocheted sweater vest is just as important to maintain its shape and ensure it looks great each time you wear it. Always ensure your vest is completely dry before storing to prevent mildew and mold.
It's best to store crocheted items flat rather than hanging them. Hanging can lead to stretching and distortion of the original shape. If space allows, dedicate a drawer or flat storage container for your crocheted items. If you must hang your vest, use a padded hanger to minimize stretching.
Avoid storing your vest in direct sunlight or damp areas, which could lead to color fading or damage to the yarn.
By following these care tips, your crocheted sweater vests will remain in excellent condition, ready to be shown off in the next sweater season. For more advice on caring for crocheted items, you can check our blog on how to crochet. For beginners who are interested in trying different projects, we have a range of guides such as how to crochet patterns for blankets, how to crochet socks, and many more.